So, turns out, for my Operating Systems class' final project, I have to do something I didn't expect--Linux from Scratch, or in other words, creating my own Linux Distro. At first, I panicked, cause there is no way that by ± 4 months of learning about operating system, I already creating one. But after looking at the website, it looks fun. It's still pretty hard, but also fun. And, not to flex or anything, I already know pretty good amount of Linux commands anyway, so I think it's going to be a bit easier for me.
I mean, what's cooler than creating your own Linux distro!!!???
So, without further a do, let's get into it.
0. My setup
- The LFS version I'm using is
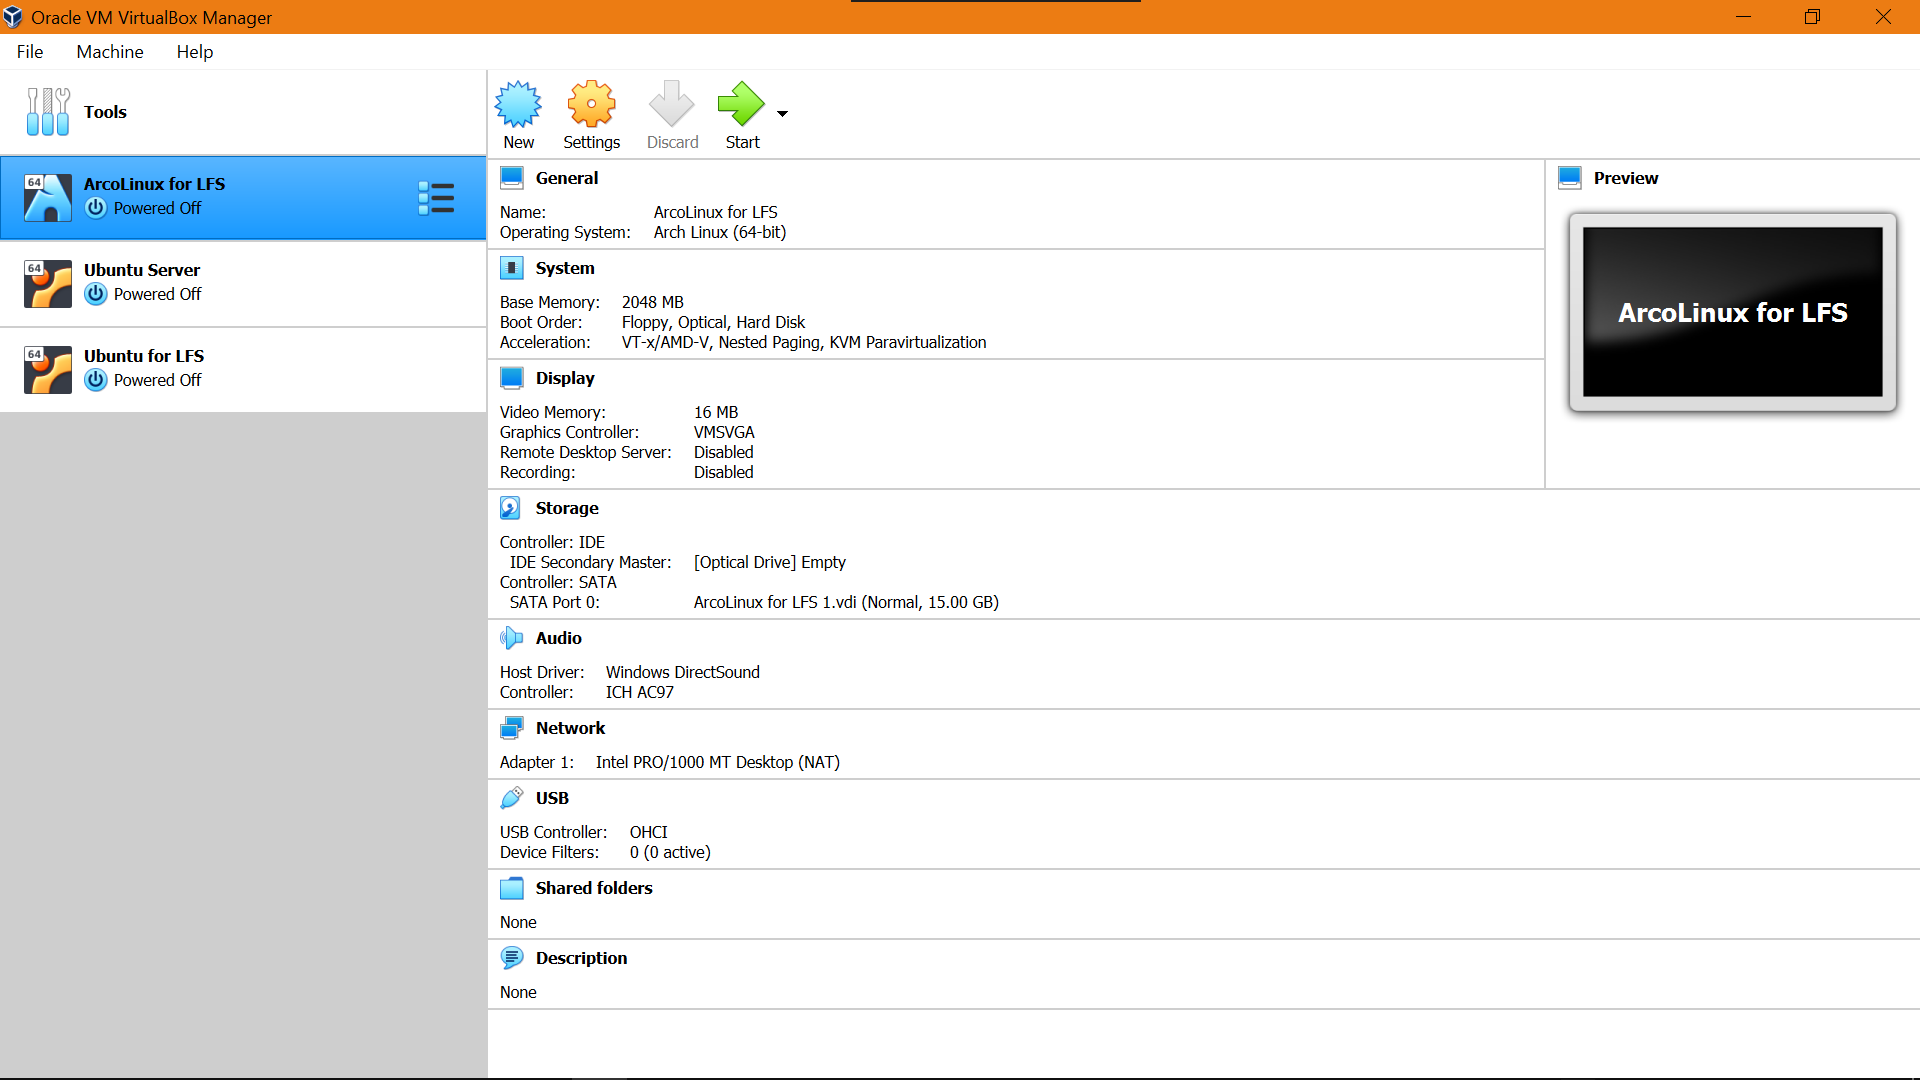
11.0-systemd, published September 1st, 2021. - I'm using VirtualBox for the VM
- For the OS, I am using ArcoLinux, recommended by my friend (thank you qi 🤣) because it's using LFS as the foundation. I'm gonna be honest, this is also gonna be my first experience playing around with arch based OS.
1. Setting up VM
Let's install the OS on VM.
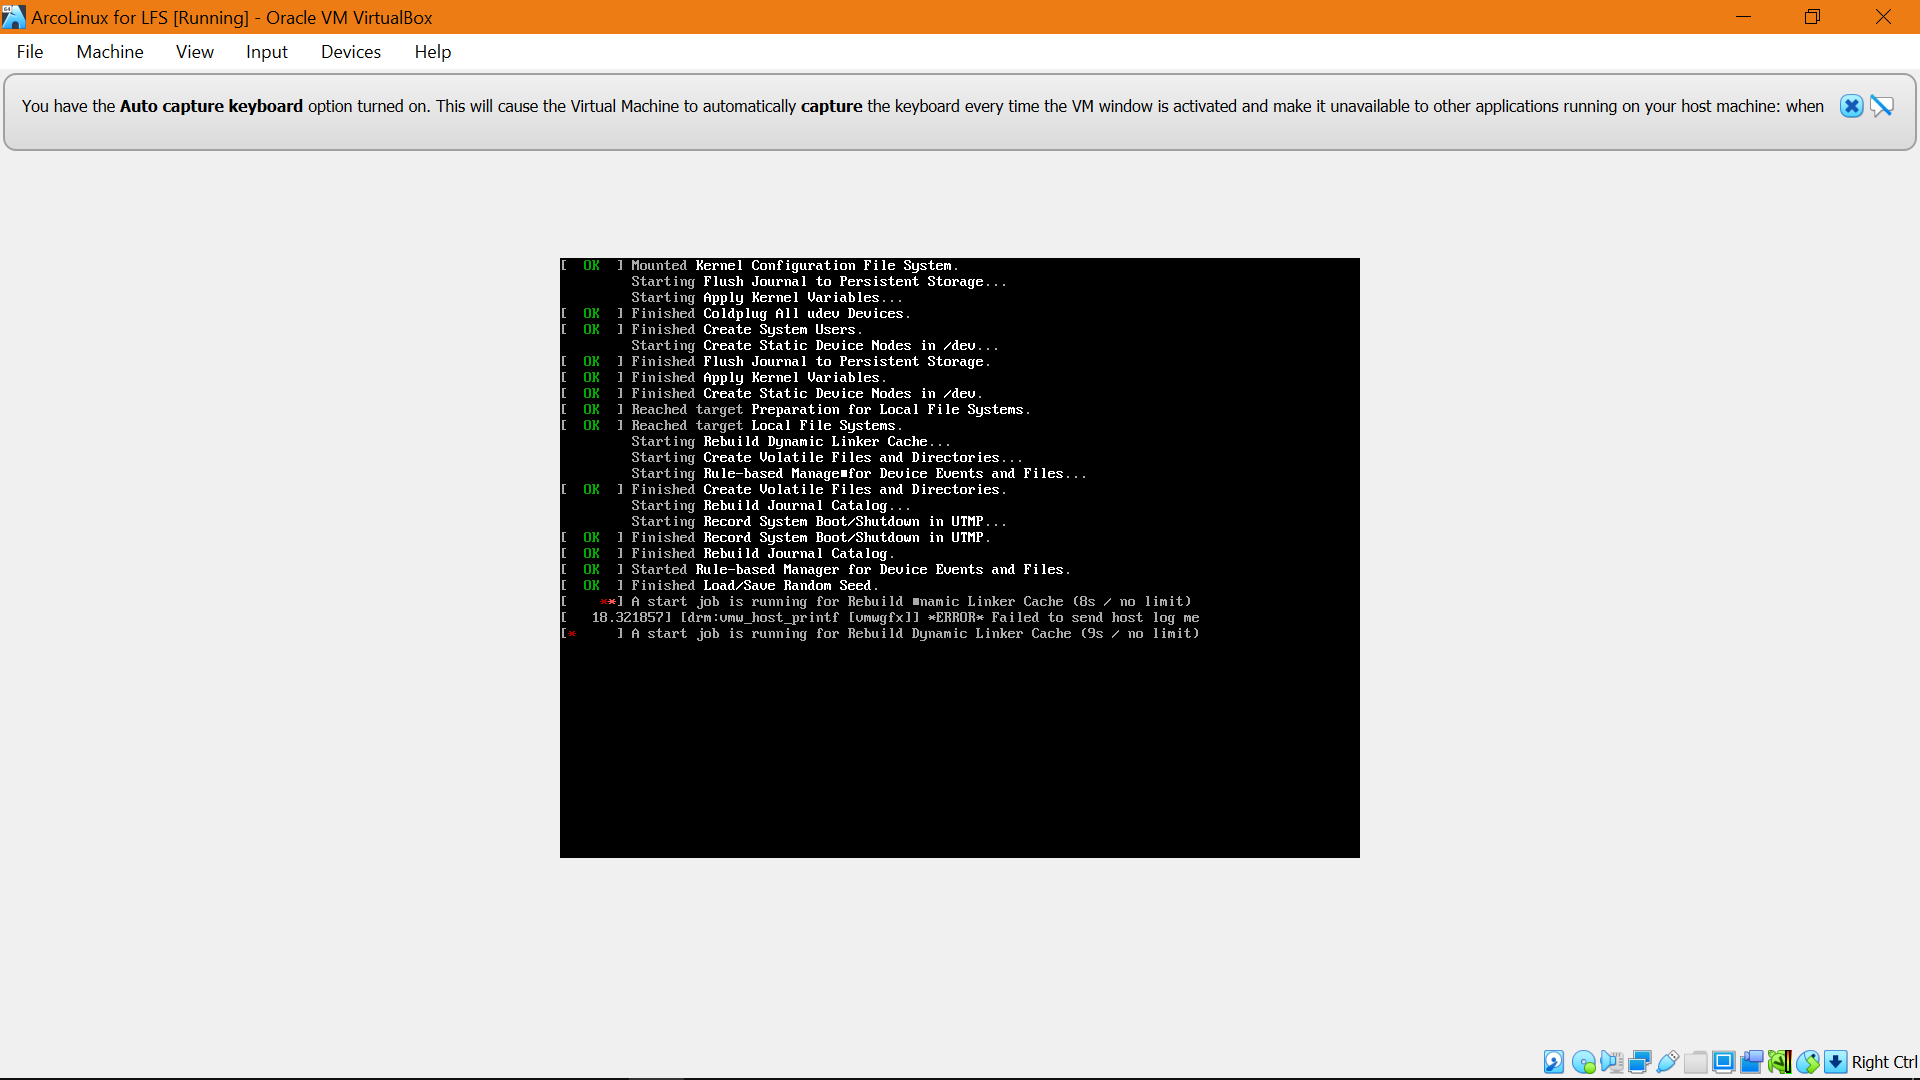
I'm quite surprised here, usually, when I install an OS in a VM, the screen is cropped and doesn't automatically scale, but not in ArcoLinux, apparently.
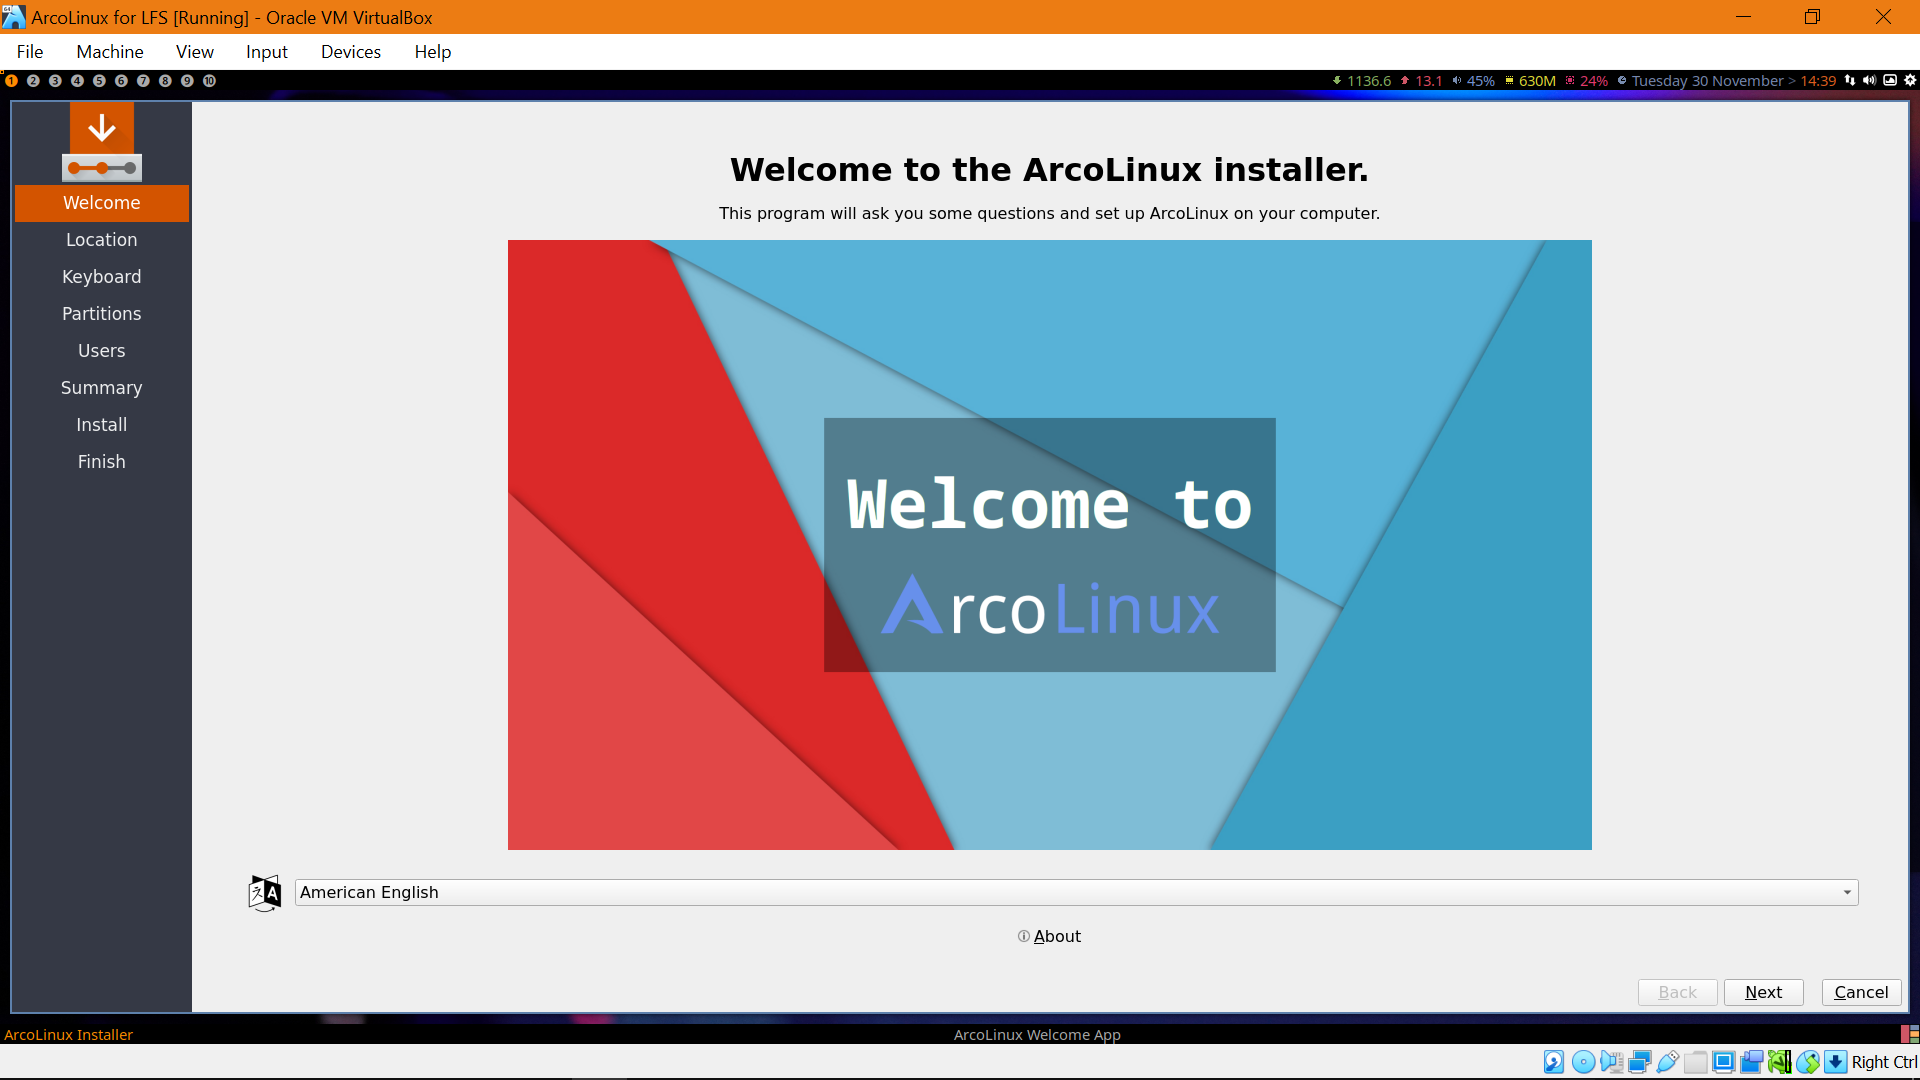
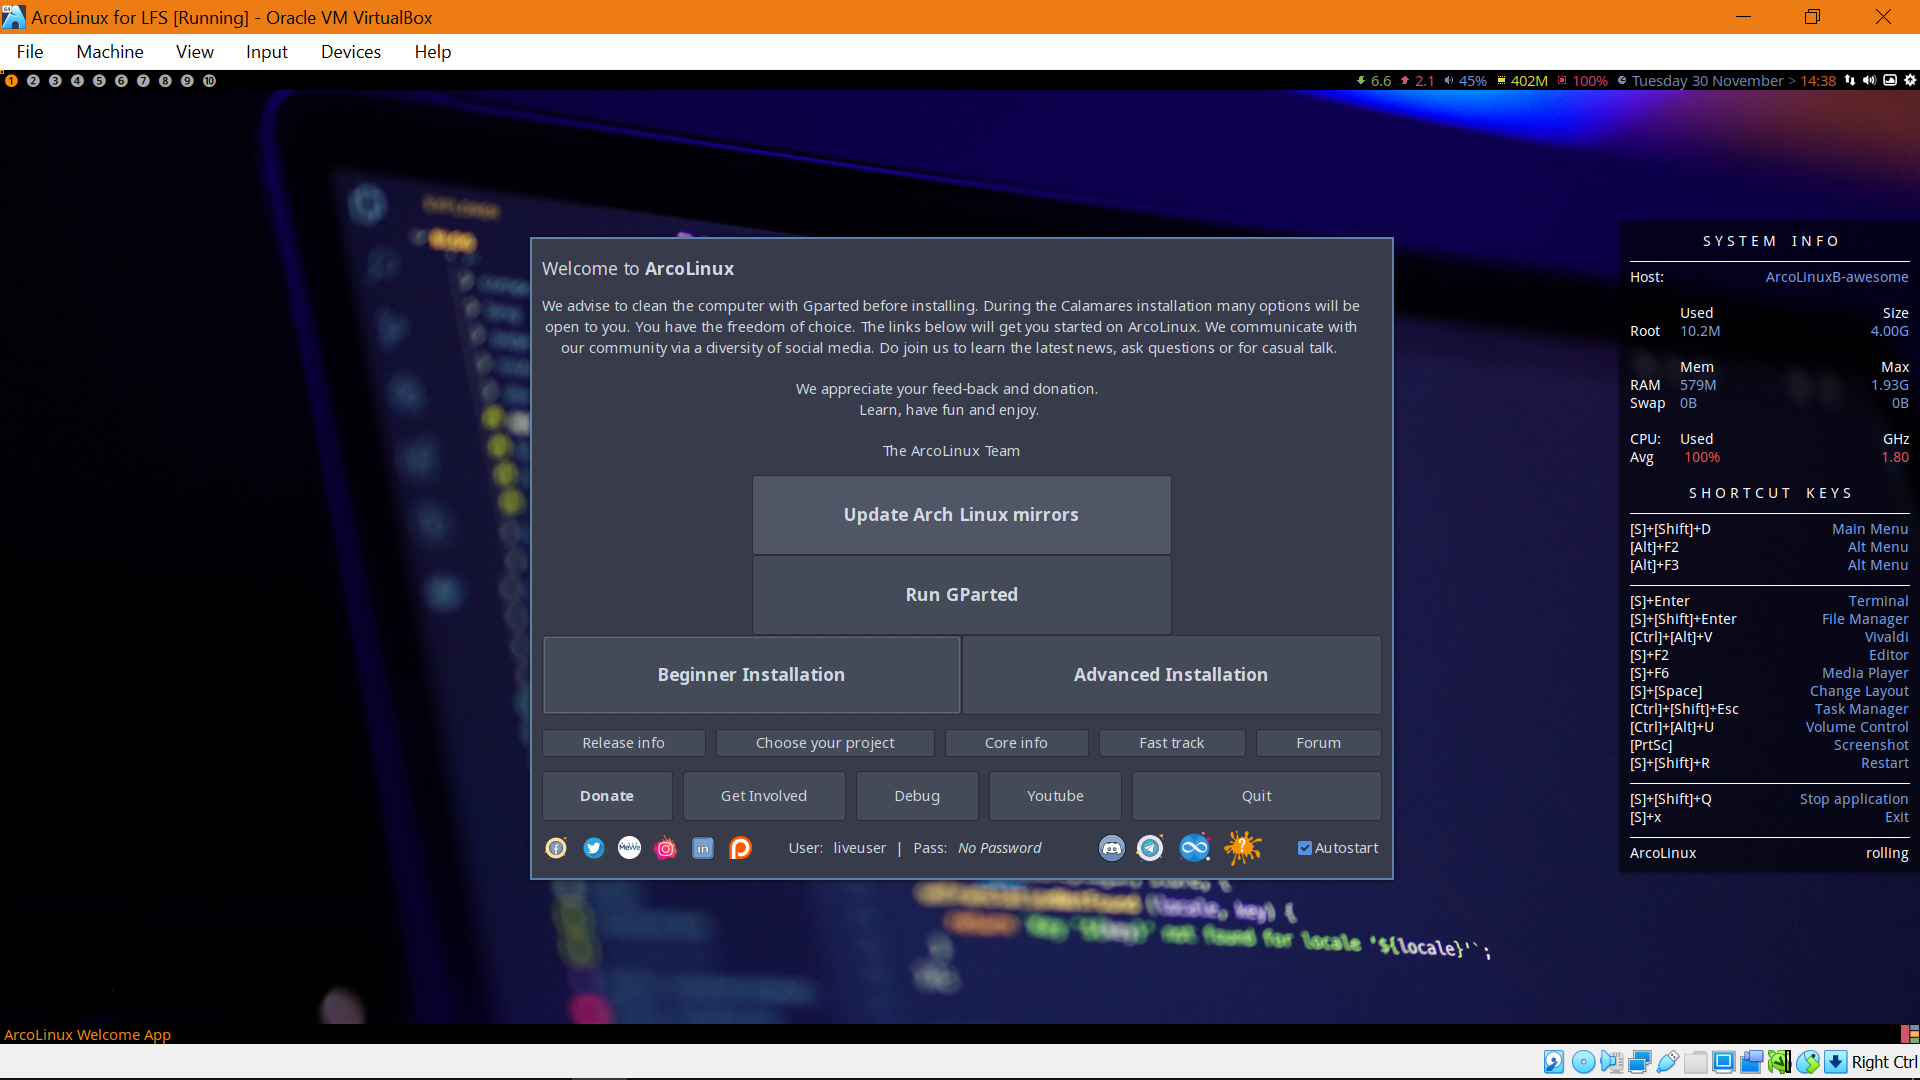
Welcome to ArcoLinux. Let's begin the installation.
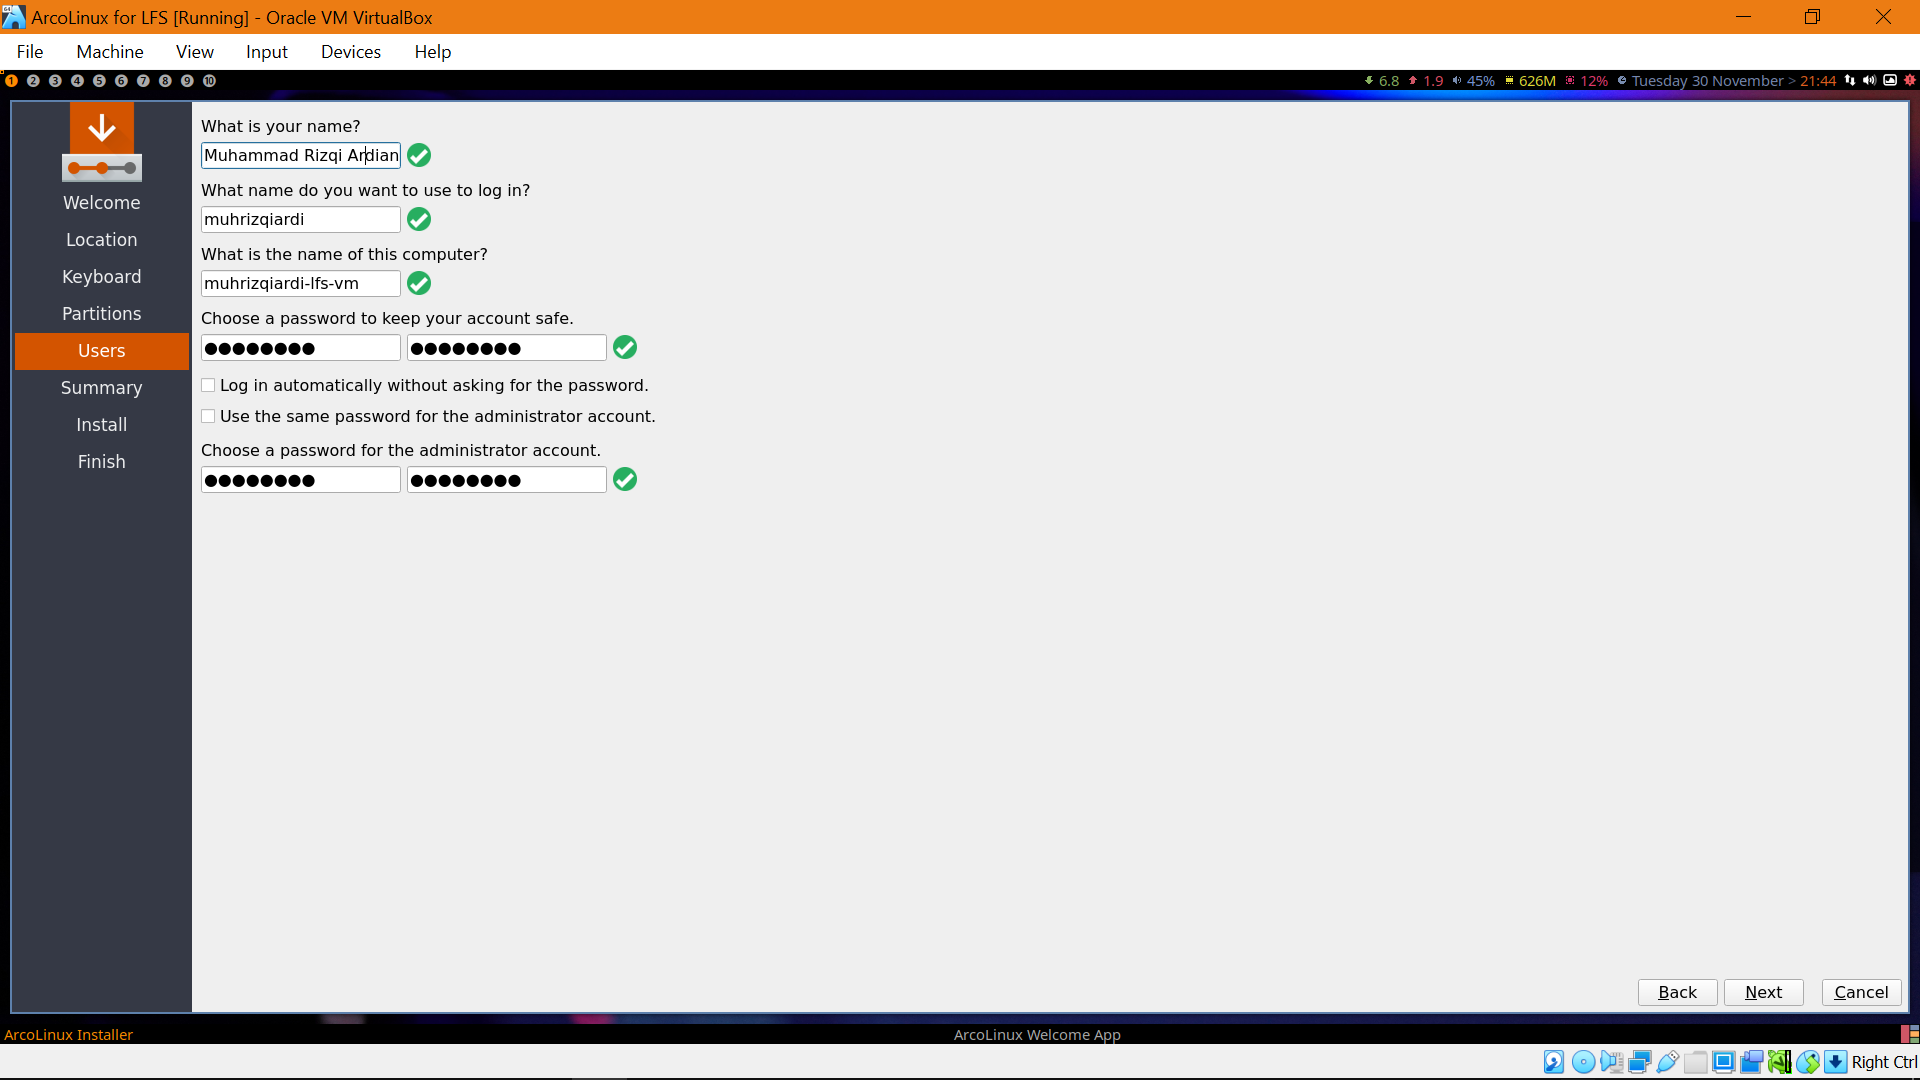
I chose a password that are easy to remember for LFS.
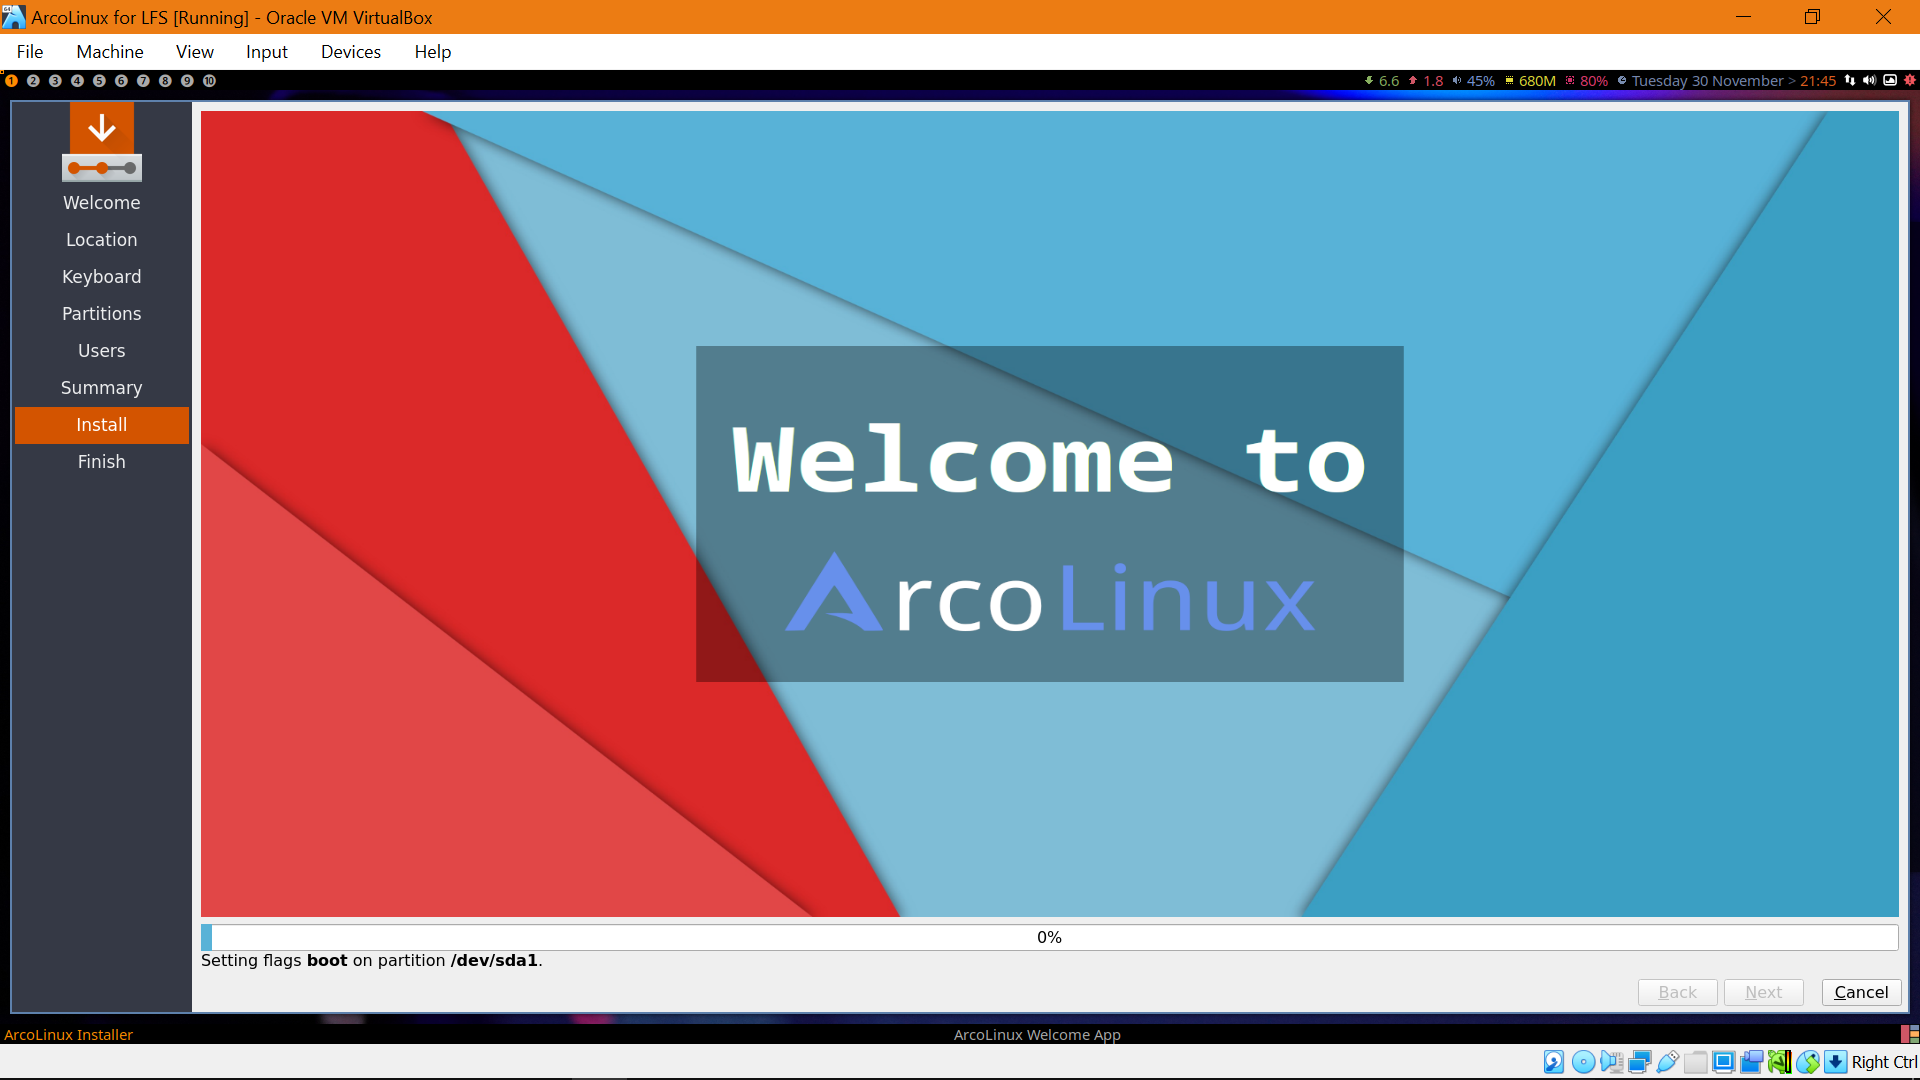
Cool, let's wait until the installation is finished.
Oof, my computer is getting really slow, turns out opening Vscode, Spotify, Firefox, and VM isn't really a good idea 🤣...
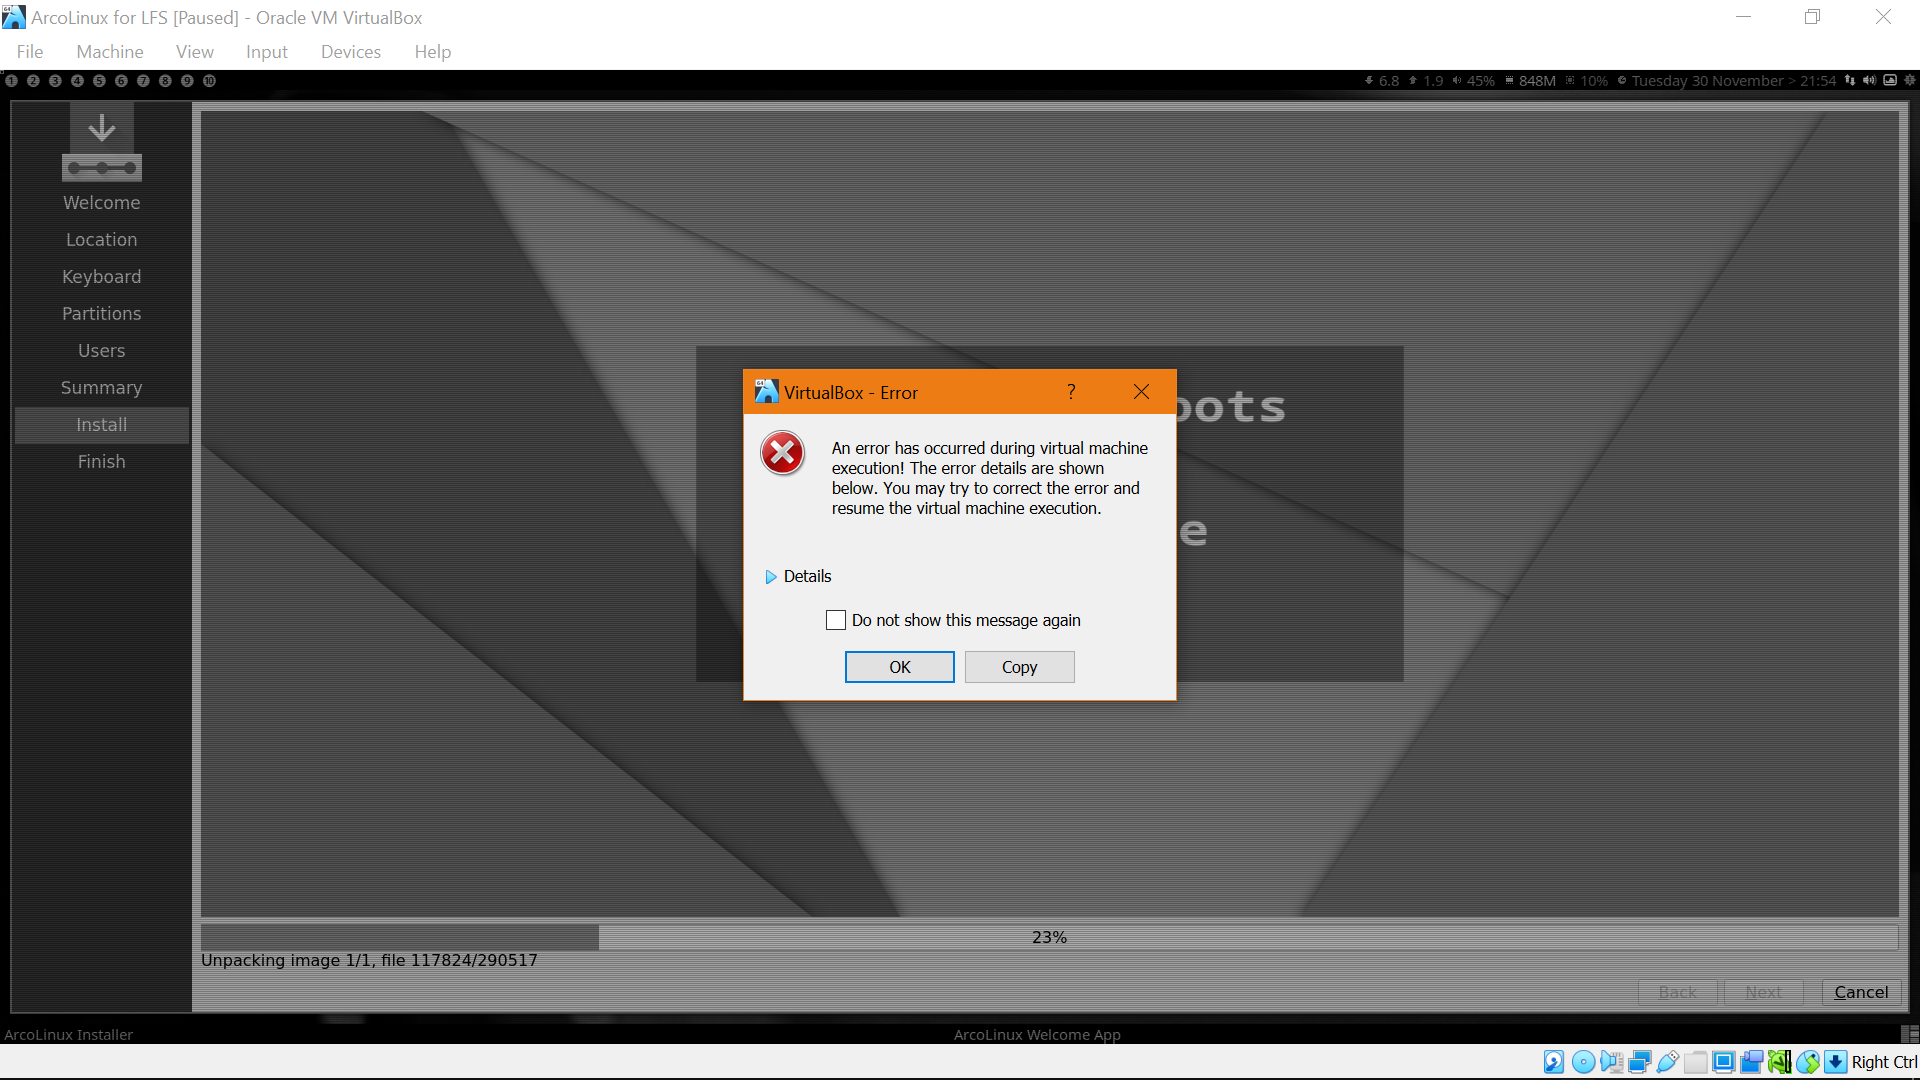
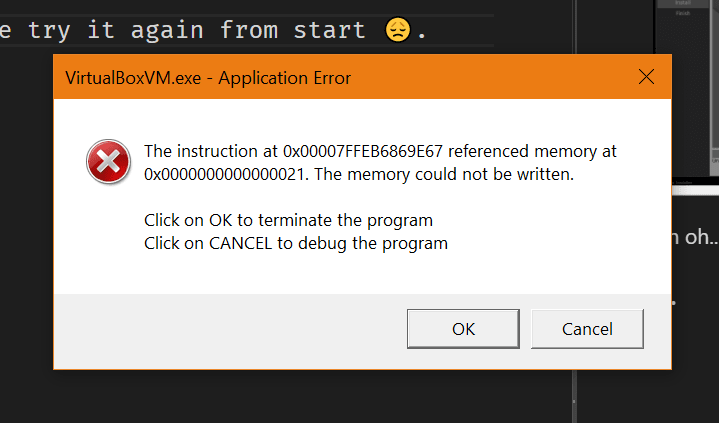
Uh oh... This isn't good... Let me try it again from start 😞. Let's pray that the same error doesn't happen at the second attempt.
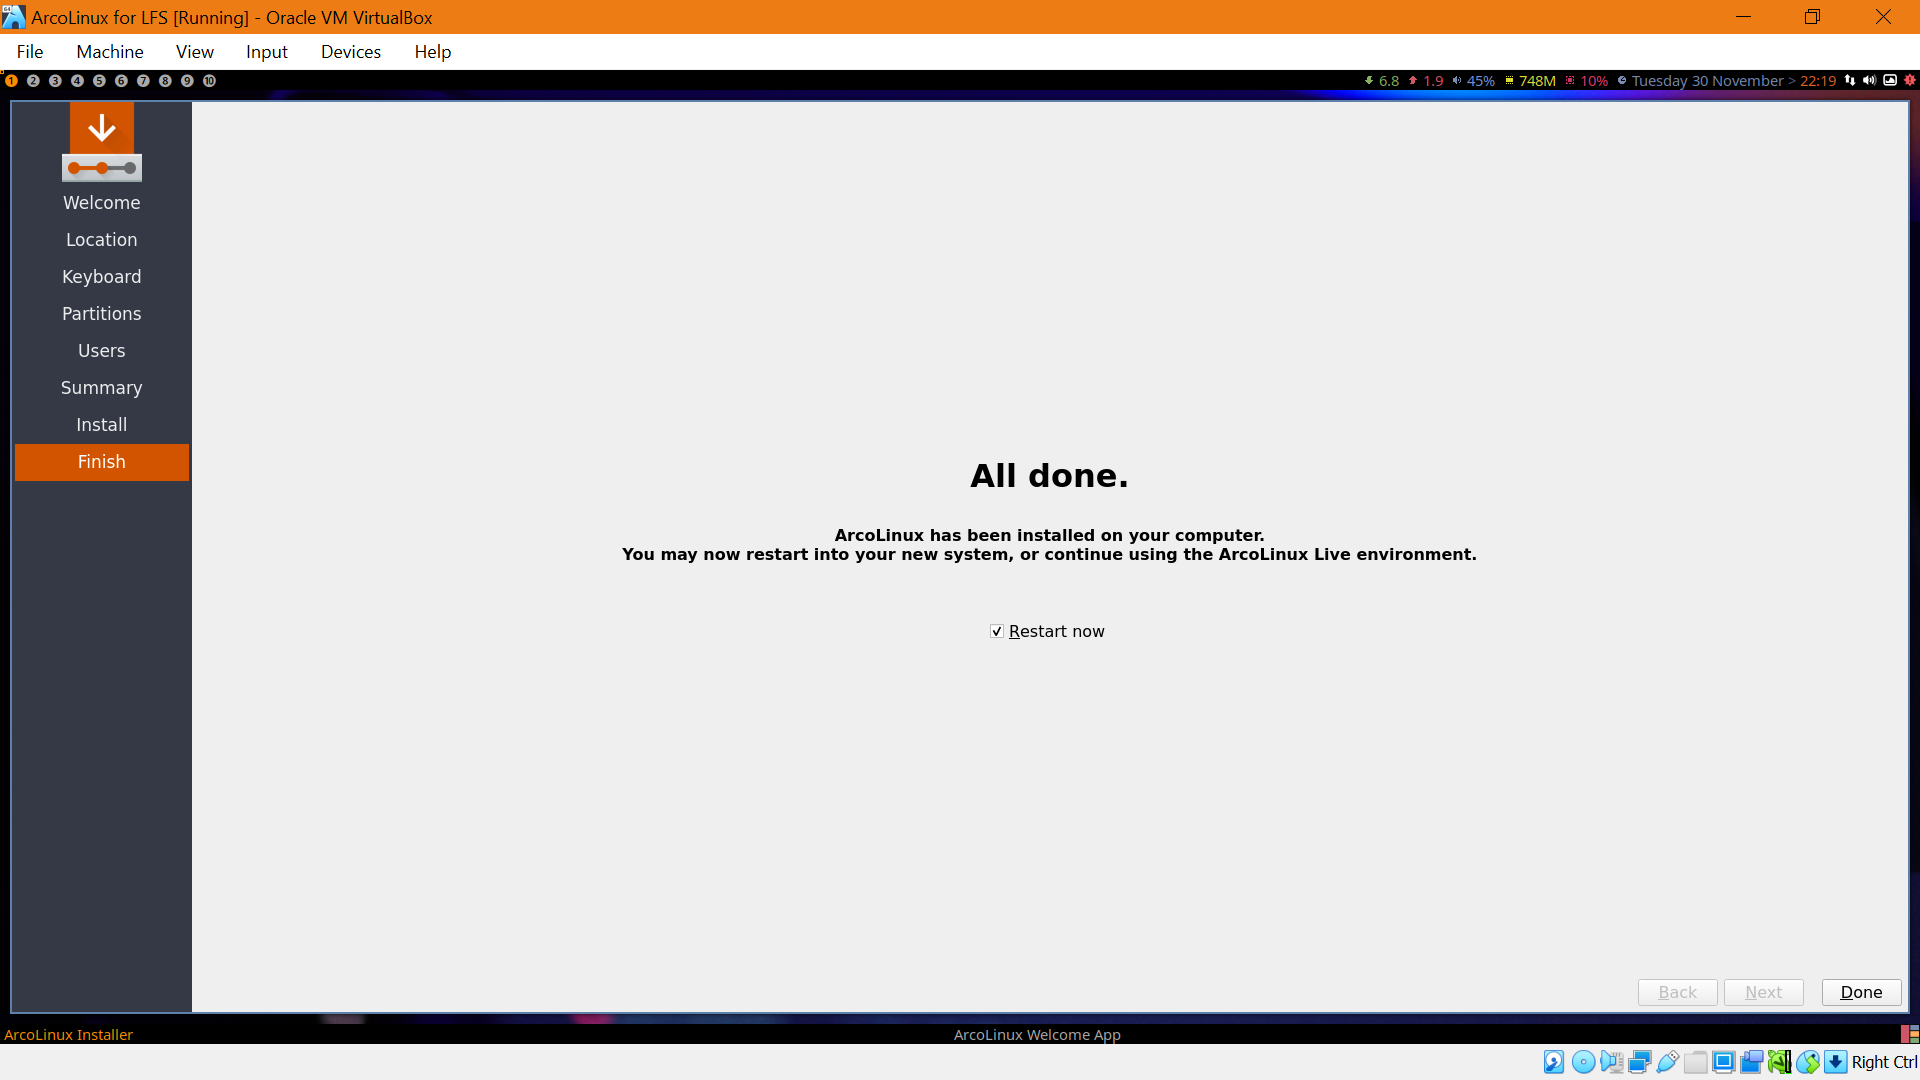
Success! Now let's start the LFS.
2. Chapter 2.2: Checking all the dependencies
I'm skipping the first chapter because it's mostly an introduction. Let's focus on the second chapter, now.
First, we are going to check if all the required packages requirement are installed, by running commands. Copy paste below to the terminal:
cat > version-check.sh << "EOF"
#!/bin/bash
# Simple script to list version numbers of critical development tools
export LC_ALL=C
bash --version | head -n1 | cut -d" " -f2-4
MYSH=$(readlink -f /bin/sh)
echo "/bin/sh -> $MYSH"
echo $MYSH | grep -q bash || echo "ERROR: /bin/sh does not point to bash"
unset MYSH

echo -n "Binutils: "; ld --version | head -n1 | cut -d" " -f3-
bison --version | head -n1

if [ -h /usr/bin/yacc ]; then
  echo "/usr/bin/yacc -> `readlink -f /usr/bin/yacc`";
elif [ -x /usr/bin/yacc ]; then
  echo yacc is `/usr/bin/yacc --version | head -n1`
else
  echo "yacc not found"
fi

bzip2 --version 2>&1 < /dev/null | head -n1 | cut -d" " -f1,6-
echo -n "Coreutils: "; chown --version | head -n1 | cut -d")" -f2
diff --version | head -n1
find --version | head -n1
gawk --version | head -n1

if [ -h /usr/bin/awk ]; then
  echo "/usr/bin/awk -> `readlink -f /usr/bin/awk`";
elif [ -x /usr/bin/awk ]; then
  echo awk is `/usr/bin/awk --version | head -n1`
else
  echo "awk not found"
fi

gcc --version | head -n1
g++ --version | head -n1
ldd --version | head -n1 | cut -d" " -f2-  # glibc version
grep --version | head -n1
gzip --version | head -n1
cat /proc/version
m4 --version | head -n1
make --version | head -n1
patch --version | head -n1
echo Perl `perl -V:version`
python3 --version
sed --version | head -n1
tar --version | head -n1
makeinfo --version | head -n1  # texinfo version
xz --version | head -n1

echo 'int main(){}' > dummy.c && g++ -o dummy dummy.c
if [ -x dummy ]
  then echo "g++ compilation OK";
  else echo "g++ compilation failed"; fi
rm -f dummy.c dummy
EOF

bash version-check.sh
If you see a word "not" when running this, then most likely the required package is missing, and you have to install it.
Life pro tips: To make this easier, you can run bash version-check.sh | grep "not", so it only shows the line that contains the word "not".
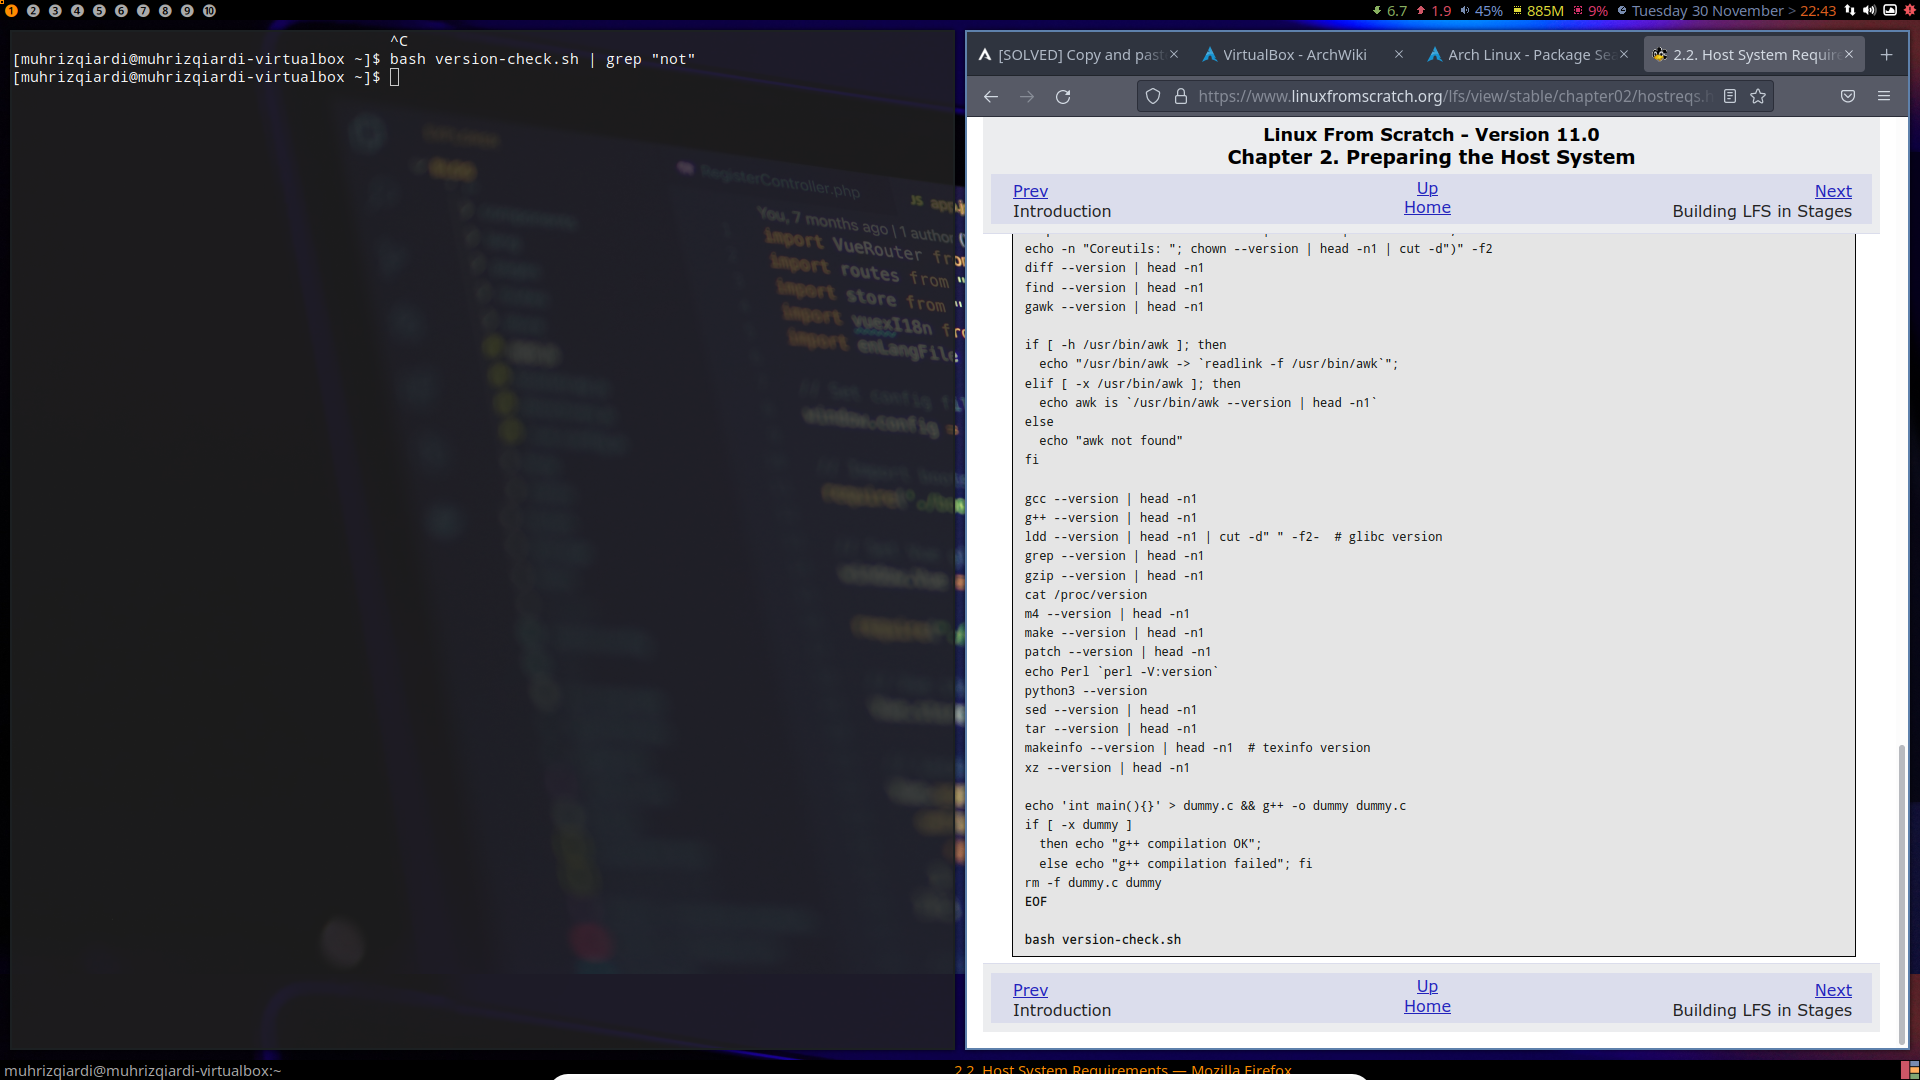
For me, it wasn't a problem at all, because, ArcoLinux has already included all the required software. Like I said, ArcoLinux is built with LFS.
Before continuing, I advise to read all of this carefully, don't just copy paste. You don't want to accidentally run a "destructive" command that ends up ruining your LFS and start from beginning.
Next, we are going to create a partition for LFS.
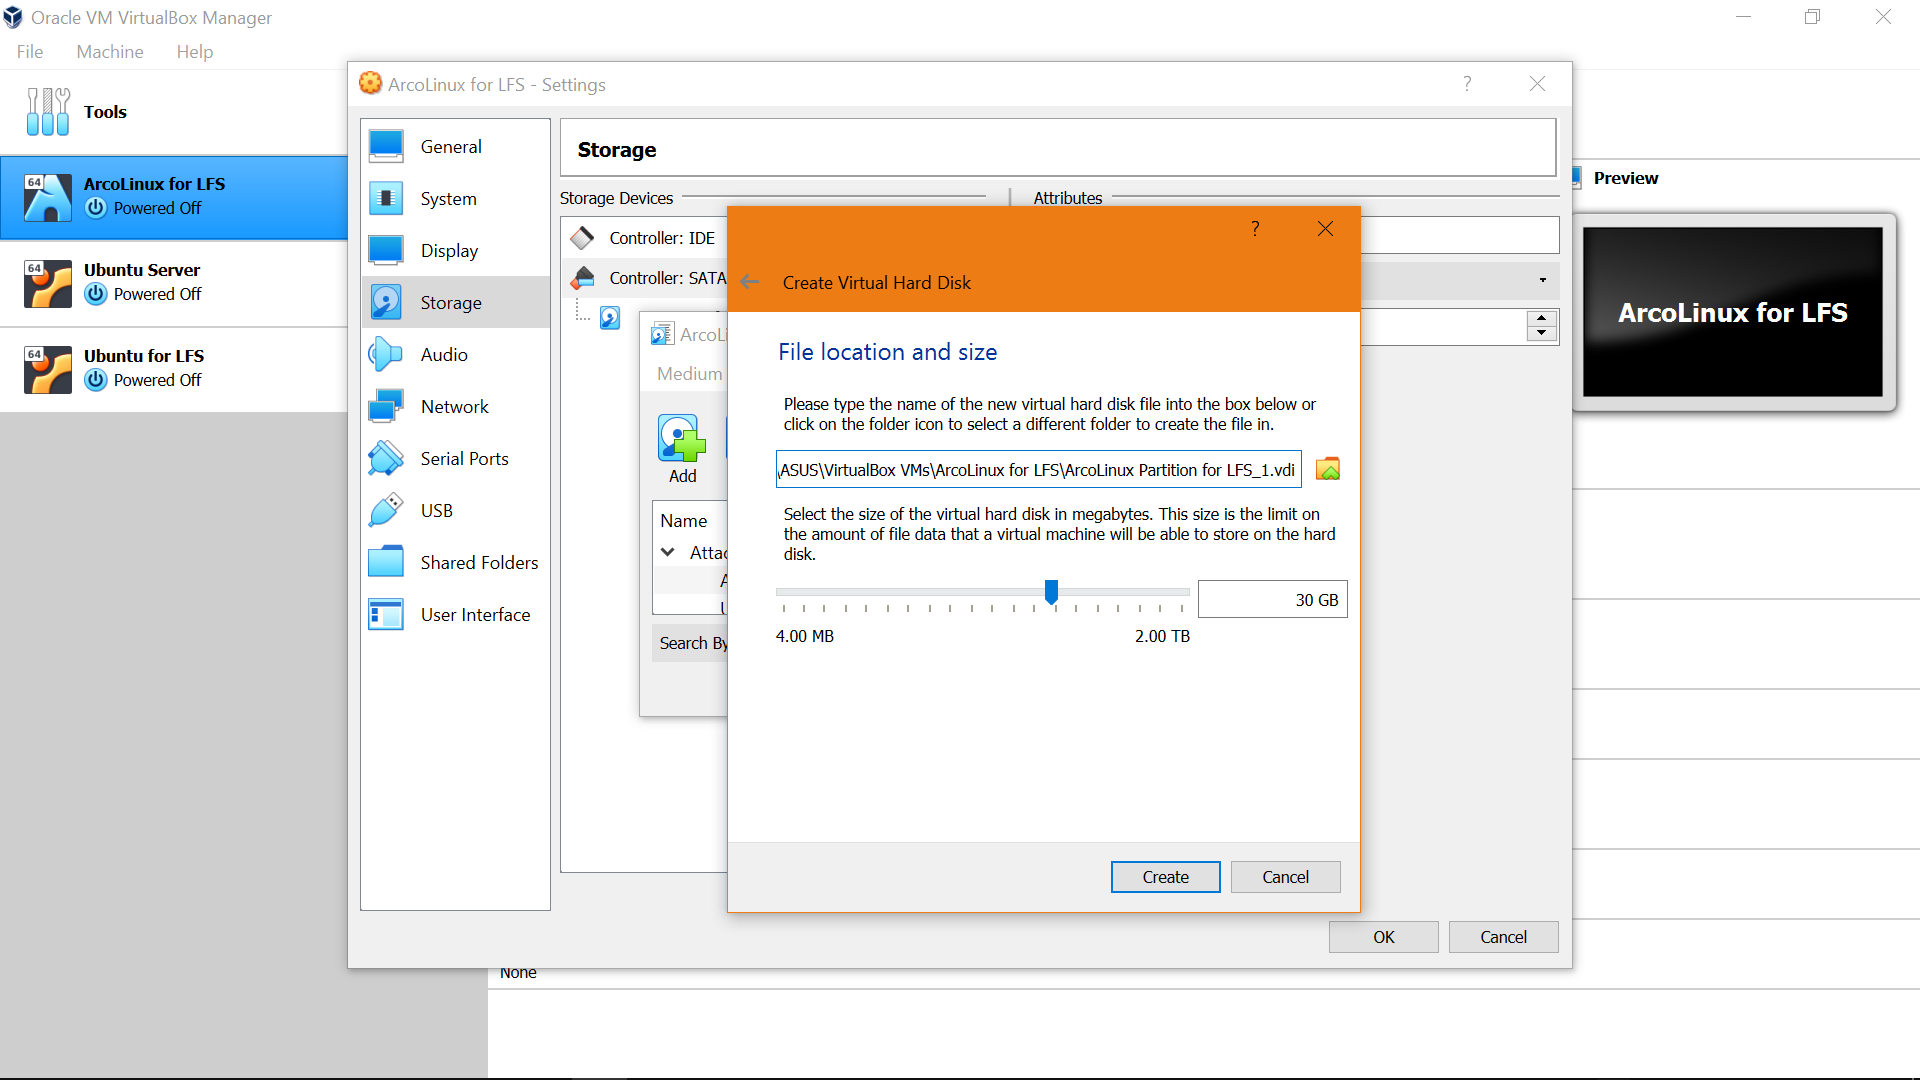
For this, just in case, I made a new virtual hard disk with the 30GB size. We are going to use cfdisk to create a new partition. Before that I'm also going to log in as root. After that, let's run cfdisk /dev/sdb. (/dev/sdb is the virtual hard disk I created before)
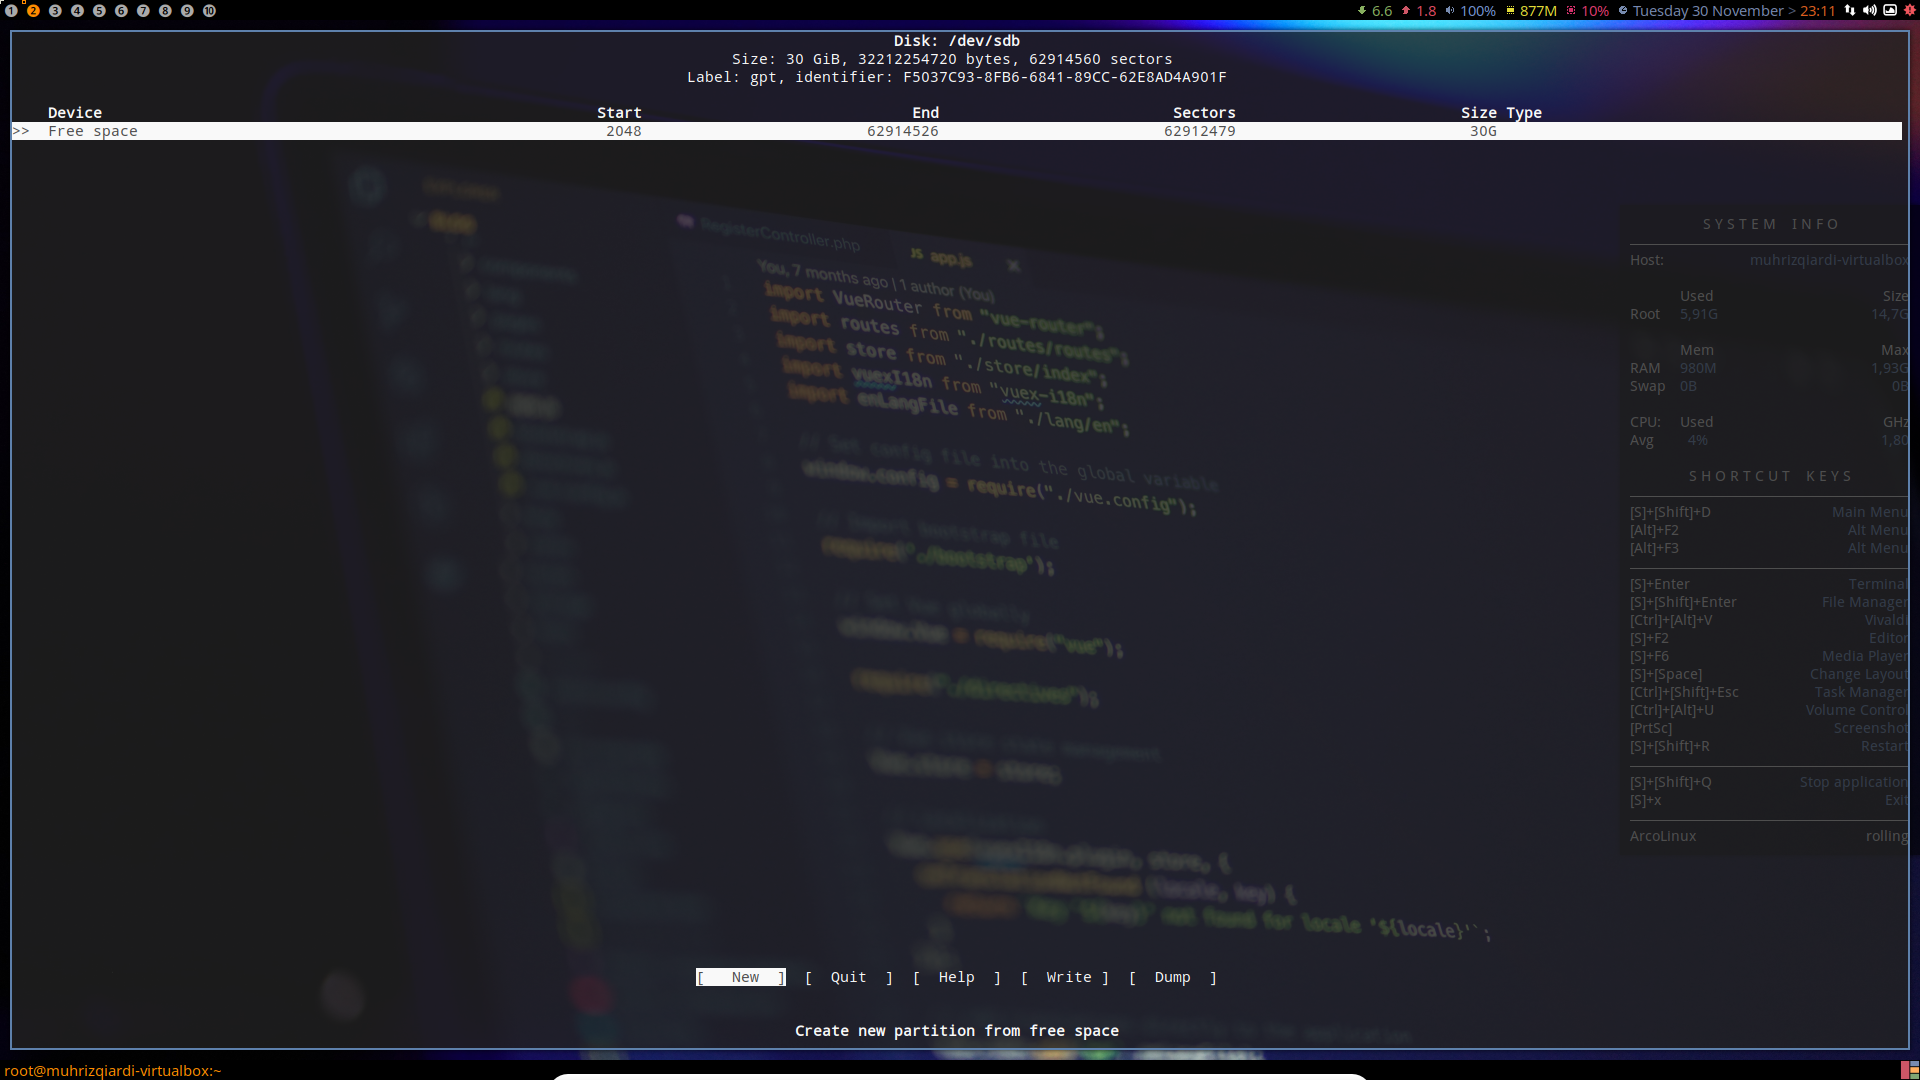
You will see this screen. Select on Free space, set the partition size to 30G.
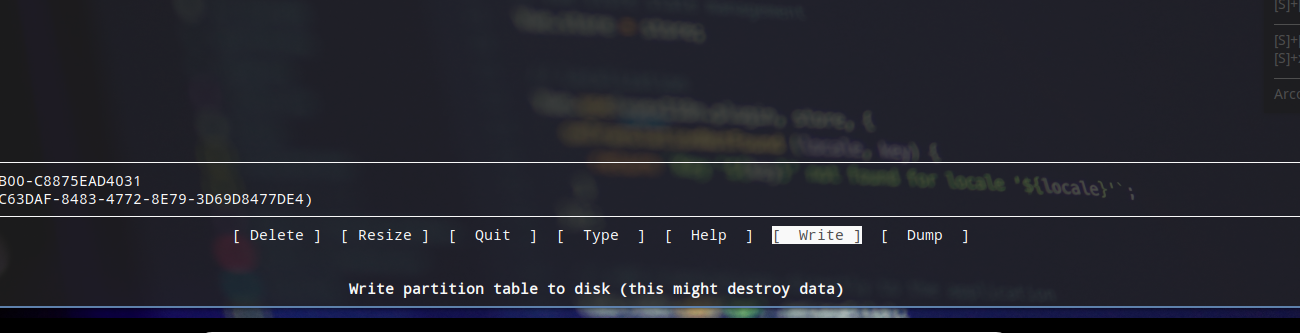
After that select "write" on the bottom of screen, and type yes to confirm the action. You can exit the cfdisk by pressing ctrl + c.
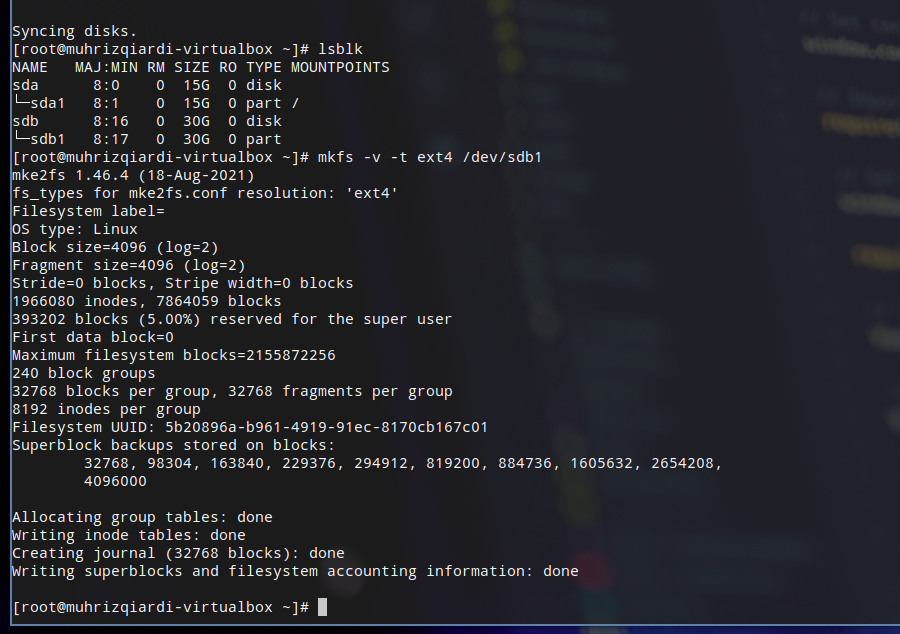
After that, let's create a file system on the partition we created.
Run the command below, keep in mind that you should replace the <xxx> by the partition you created, in my case, it's sdb1.
mkfs -v -t ext4 /dev/<xxx>
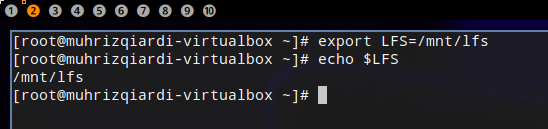
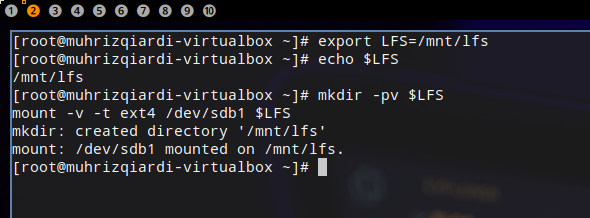
Next, let's create a variable for mount directory for LFS we will create later. Run the command below:
export LFS=/mnt/lfs
Run the command below to check:
echo $LFS
Next, we are going to mount a directory for the LFS partition.
mkdir -pv $LFS
mount -v -t ext4 /dev/<xxx> $LFS
Replace <xxx> with the designation of the LFS partition.
3. Chapter 3
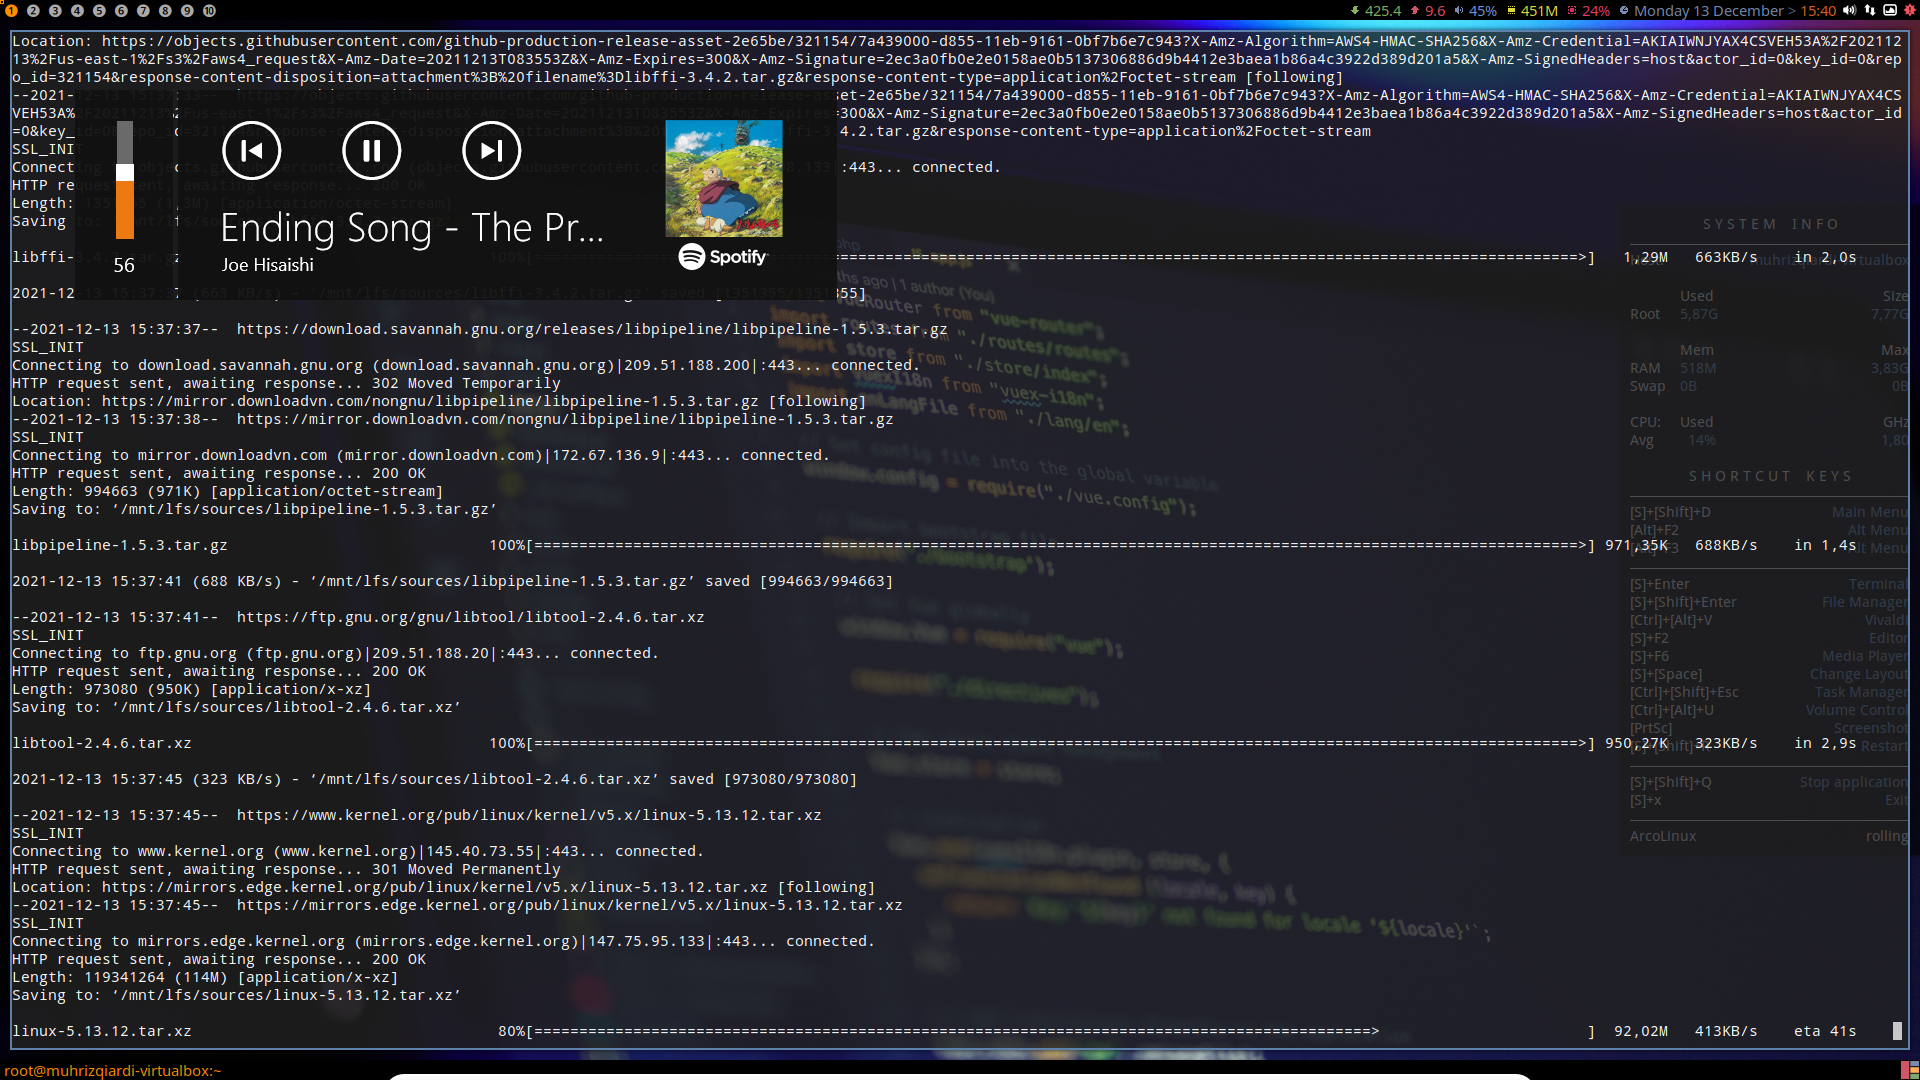
In this chapter, we're going to download a pretty good amount of packages, so, prepare your internet.
Before that, let's create a sources directory at the partition we created. We'll store downloaded packages to this directory. Create the directory by running the command below:
mkdir -v $LFS/sources
After that, we'll change the directory permisssion to "sticky", which means, quoted directly from LFS' website:
... even if multiple users have write permission on a directory, only the owner of a file can delete the file within a sticky directory.
Run the command below to do change the permission:
chmod -v a+wt $LFS/sources
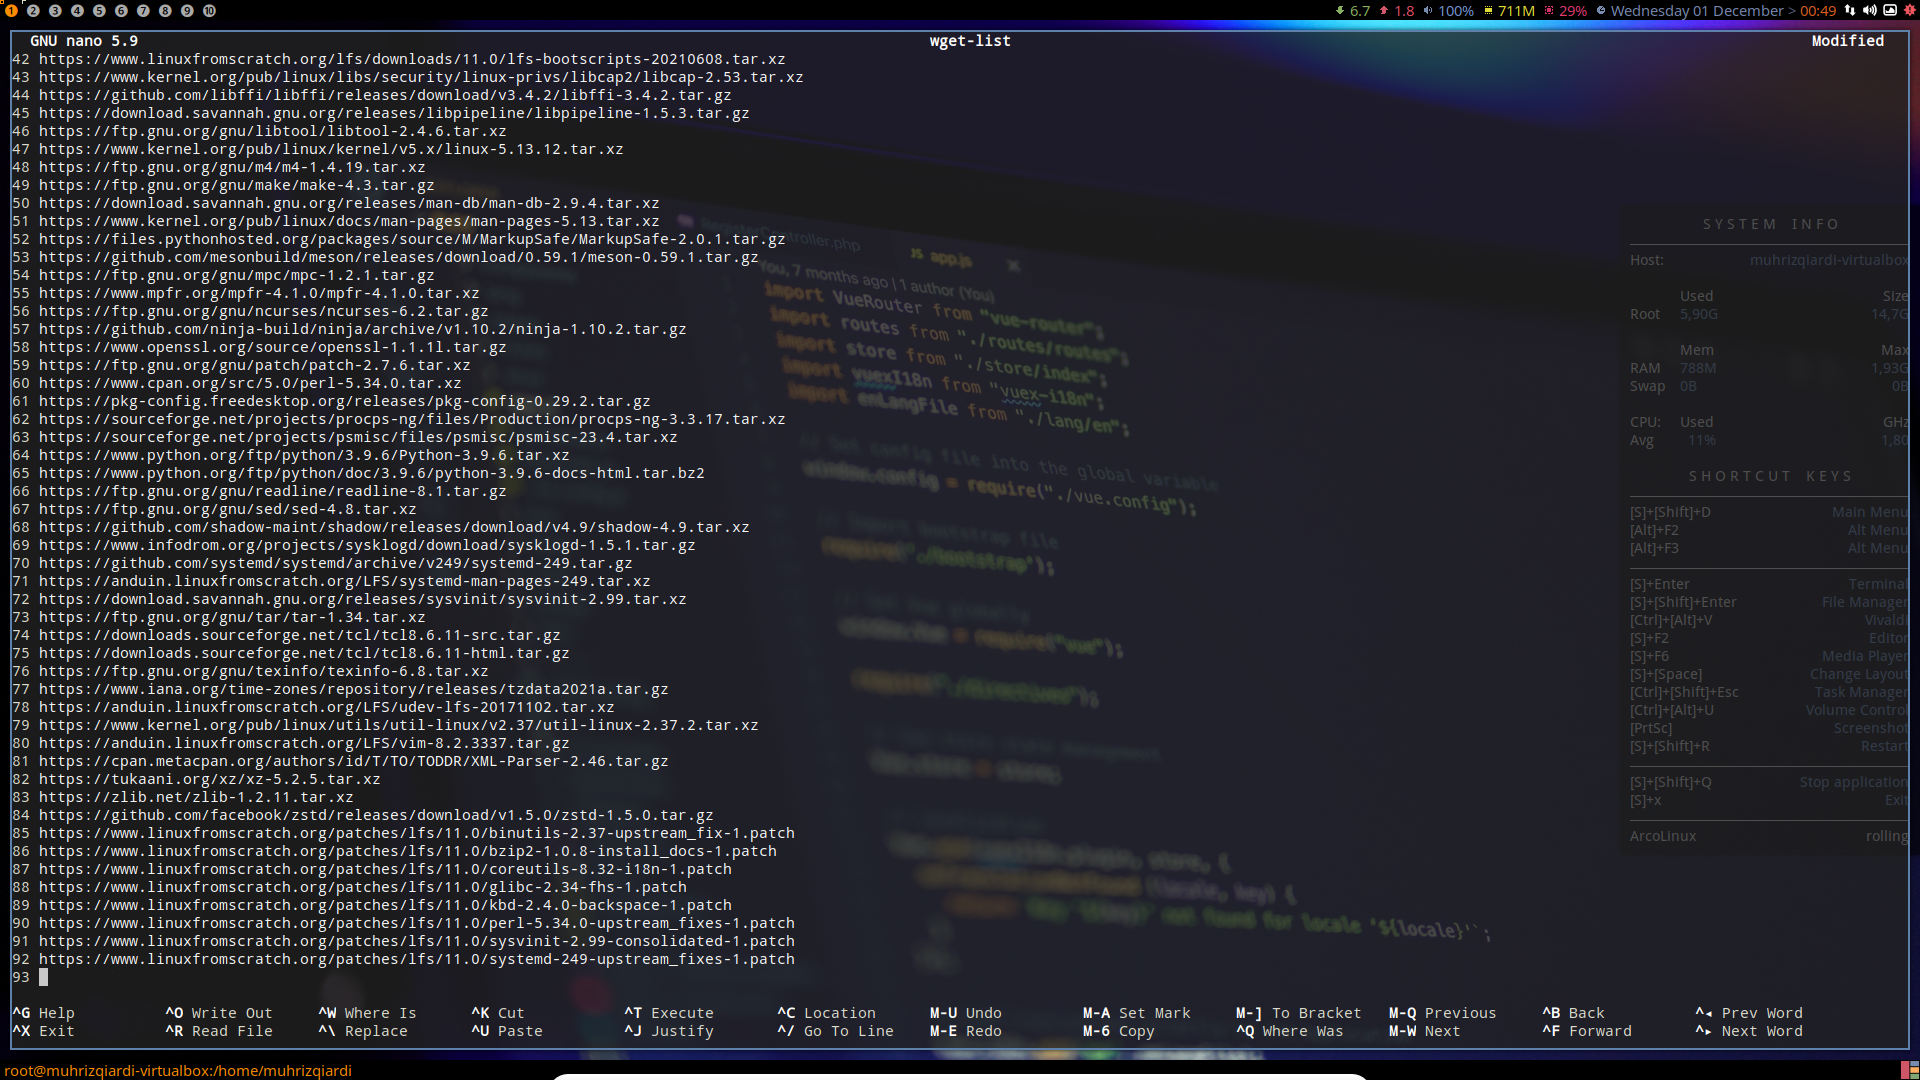
Next, we're going to create a file called wget-list, and copy paste the content of this link into the file. You can use nano, or any text editor.
Then, run the command below:
wget --input-file=wget-list --continue --directory-prefix=$LFS/sources
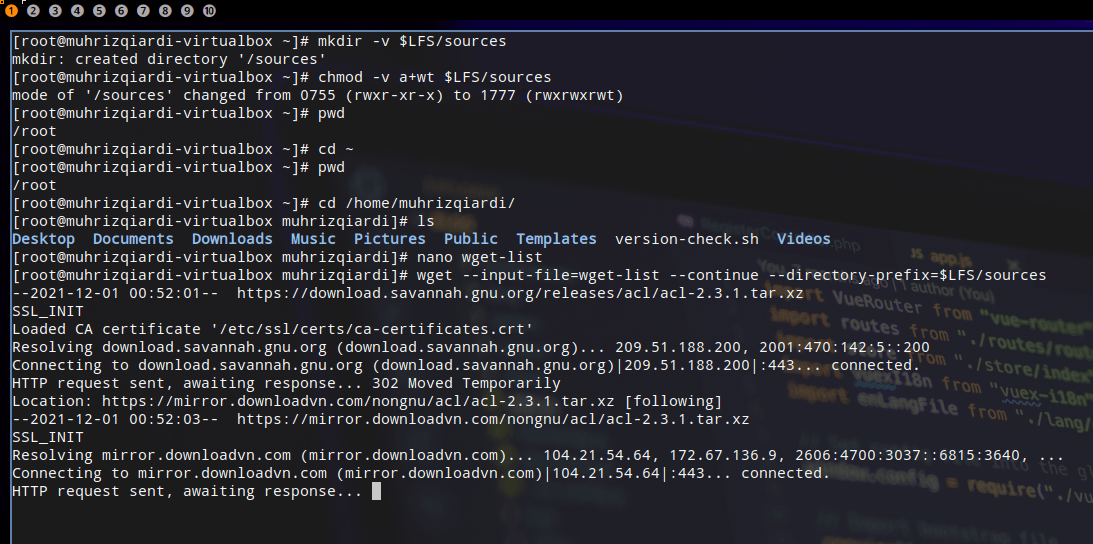
Then the download will start. The duration will depend on your internet connection. ~~I hope Indihome doesn't do anything weird while I'm downloading this~~
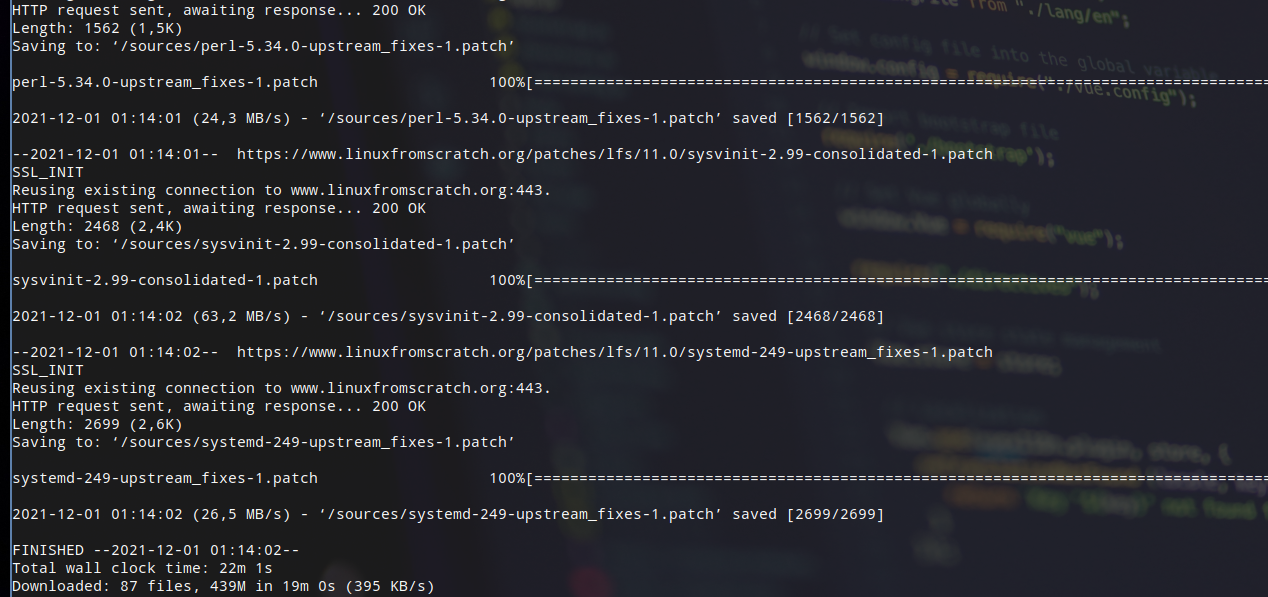
Cool, the download went faster than I expected! Let's continue.
4. Chapter 4: Final Preparations
Next, we will run these command that will create a limited directory hierarchy, for compiling later.
mkdir -pv $LFS/{etc,var} $LFS/usr/{bin,lib,sbin}

for i in bin lib sbin; do
  ln -sv usr/$i $LFS/$i
done

case $(uname -m) in
  x86_64) mkdir -pv $LFS/lib64 ;;
esac
We will also create another directory for later in Chapter 6
mkdir -pv $LFS/tools

Next, we will create the LFS user, because, if we are using root, a single mistake can destroy a system, literally. To prevent that, for the next chapters, we will use unprivilaged user. We will name the user lfs.
groupadd lfs
useradd -s /bin/bash -g lfs -m -k /dev/null lfs
The meaning of the command line options, quoted from LFS' website:
-s /bin/bash
This makes bash the default shell for user lfs.
-g lfs
This option adds user lfs to group lfs.
-m
This creates a home directory for lfs.
-k /dev/null
This parameter prevents possible copying of files from a skeleton directory (default is /etc/skel) by changing the input location to the special null device.
lfs
This is the actual name for the created user.
Then, give the user lfs a password:
passwd lfs
Remember the password, cause you will use it later.
Grant lfs full access to all directories under $LFS by making lfs the directory owner:
chown -v lfs $LFS/{usr{,/*},lib,var,etc,bin,sbin,tools}
case $(uname -m) in
  x86_64) chown -v lfs $LFS/lib64 ;;
esac

Finally, log in to the user lfs, by running this commmand:
su - lfs

If you notice from the screenshot, after I typed the command, the user changed root to lfs.
I'll admit, the next steps are starting to be a bit... confusing. But don't fret, we will get through this 😀!
Next, we will create a startup files for the bash shell. Run this command under the lfs user to create .bash_profile file:
cat > ~/.bash_profile << "EOF"
exec env -i HOME=$HOME TERM=$TERM PS1='\u:\w\$ ' /bin/bash
EOF
Visit this link for the detail about this command.
Next, create .bashrc file:
cat > ~/.bashrc << "EOF"
set +h
umask 022
LFS=/mnt/lfs
LC_ALL=POSIX
LFS_TGT=$(uname -m)-lfs-linux-gnu
PATH=/usr/bin
if [ ! -L /bin ]; then PATH=/bin:$PATH; fi
PATH=$LFS/tools/bin:$PATH
CONFIG_SITE=$LFS/usr/share/config.site
export LFS LC_ALL LFS_TGT PATH CONFIG_SITE
EOF
And, run this command:
source ~/.bash_profile

5. Chapter 5
In this chapter, we will start doing a lot of compiling. I'll admit, I don't really understand a lot of the stuff in this chapter, but like I said, we will get through it, haha.
Anyway, before proceeding to this chapter, make sure you have read this page.
Read the notes marked important. It says there that, for each packages,
- extract it using
tarcommand, - go to the directory created after extracting the package, follow the book instruction, then
- go back to
/sourcesdirectory, - delete the extracted source directory unless instructed otherwise, and
- repeat.
Now, let's start.
First, make sure you are logged in to the user lfs and the current directory is /sources.
First, extract the binutils-2.37.tar.xz (the version will depend on which version you downloaded), using tar:
tar -xf "binutils-2.37.tar.xz"
Then, go to directory of the extracted file:
cd binutils-2.37/

Then, run this command to make a build folder and change current directory to build:
mkdir -v build
cd       build
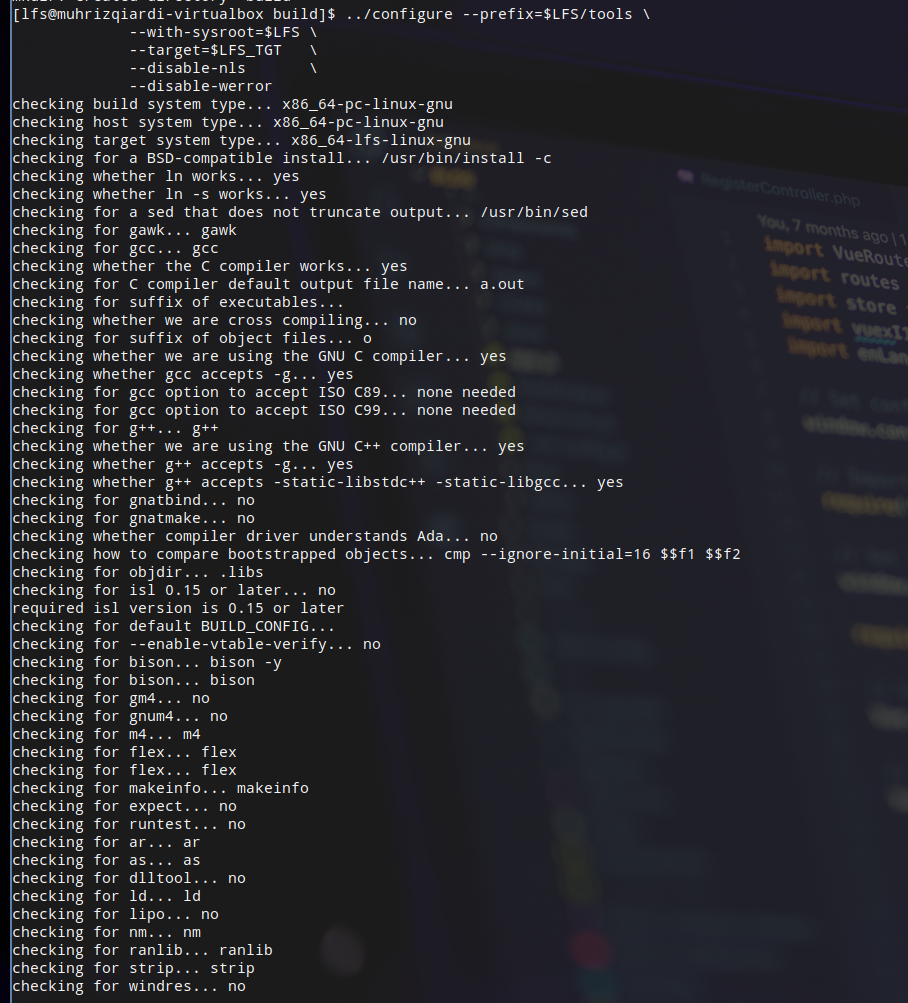
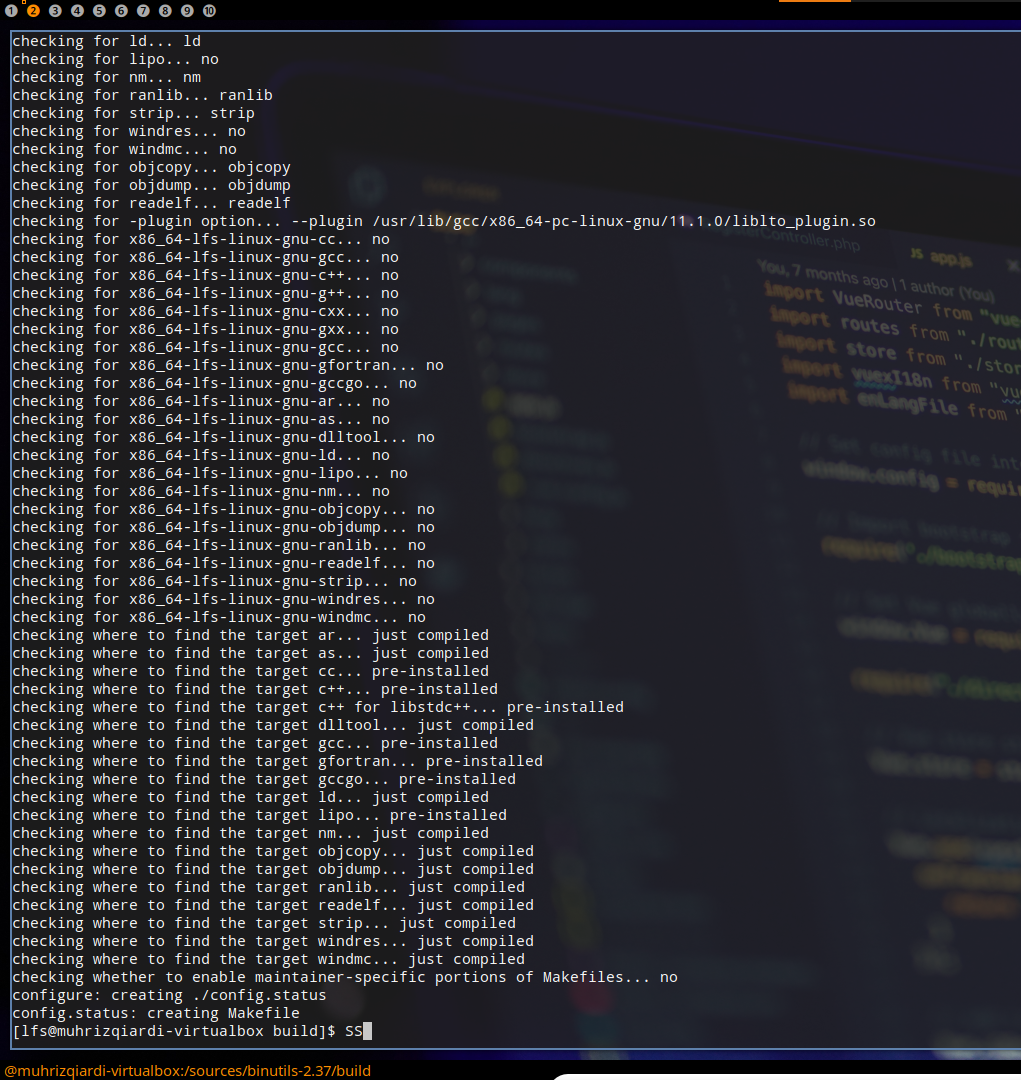
Prepare binutils for compilation:
../configure --prefix=$LFS/tools \
             --with-sysroot=$LFS \
             --target=$LFS_TGT   \
             --disable-nls       \
             --disable-werror
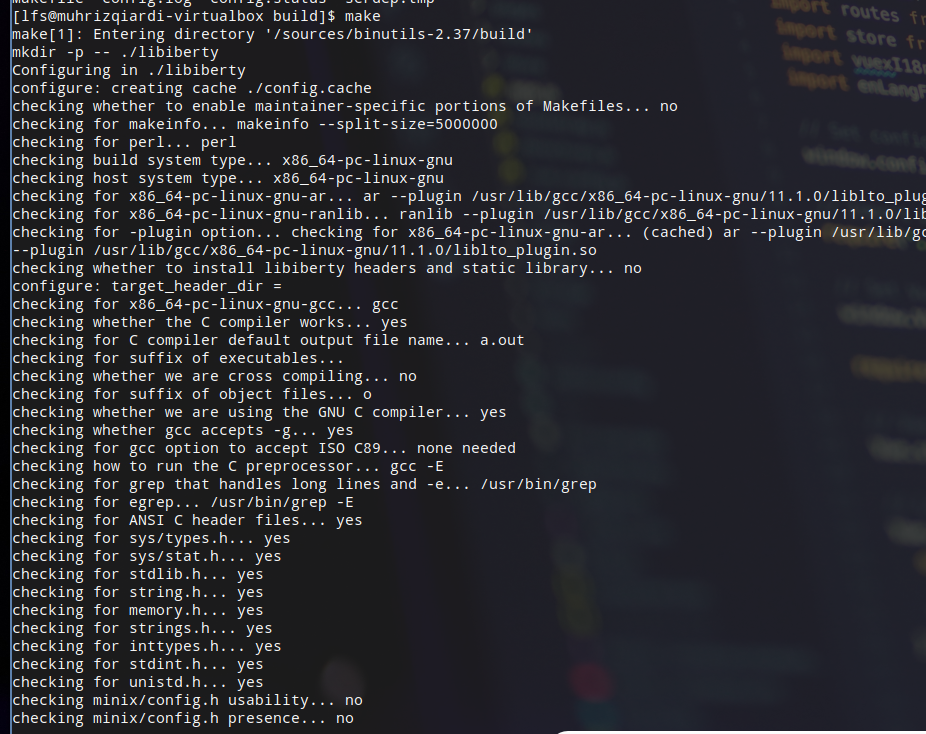
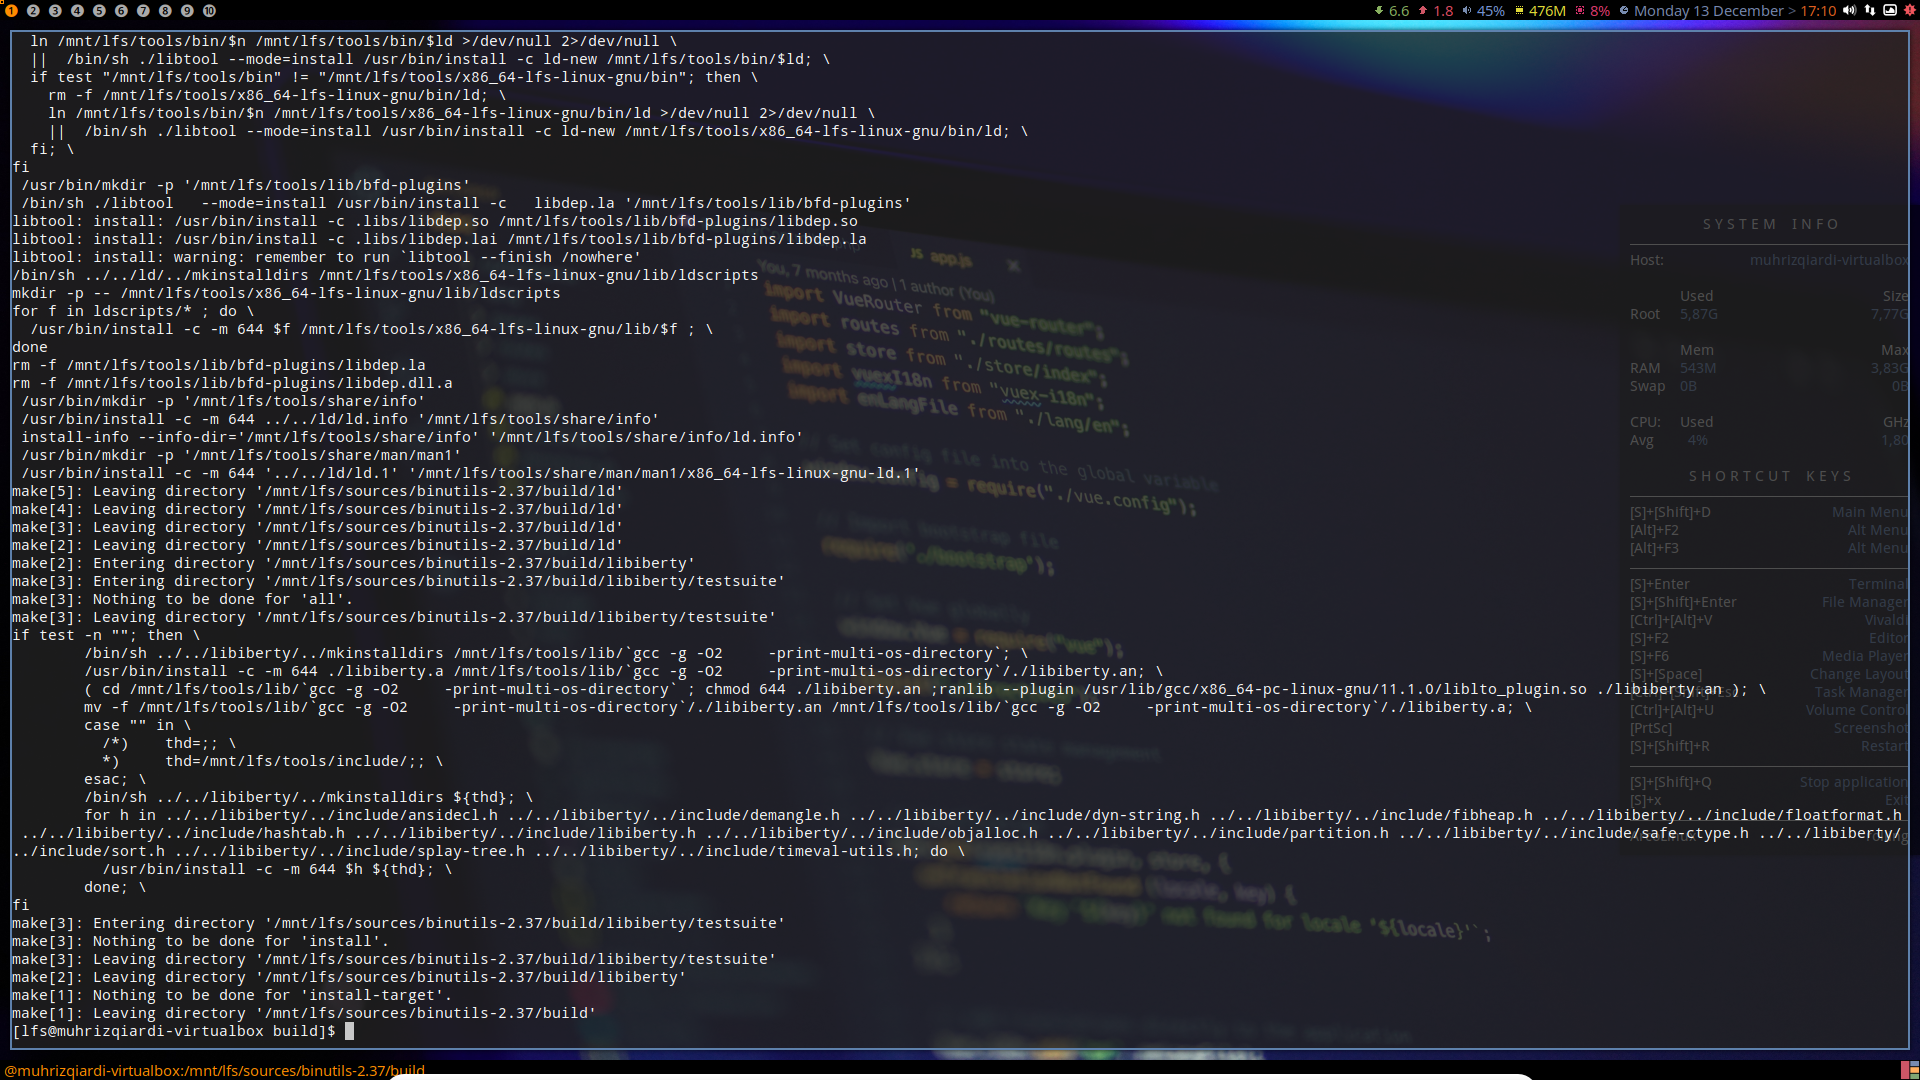
Finally, let's compile it:
make
Then, install the package:
make install -j1
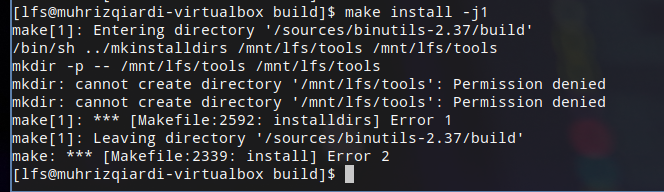
Uh oh, looks like something is wrong. I don't know what, though. This is what happen when you skip sleep doing LFS 🤣.
Update 2021/12/13:
So I decided to re-install and restart from beginning, just in case I forgot some instruction.
Accompanied by Ghibli playlist, of course.
So, here we go 😣😣
I'll skip to the the chapter 5.1.
Looks like a success! Woohoo!
Now let's change directory back to $LFS/sources and delete the extracted folder.

Let's proceed to installation of GCC. First extract gcc and cd into the the extracted folder.
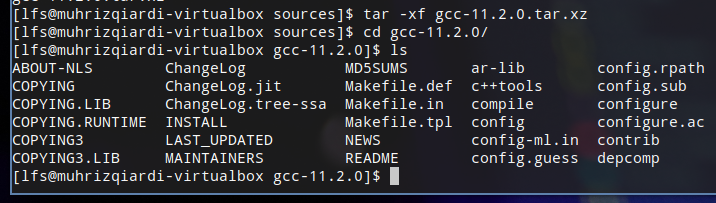
Then, run these commands:
tar -xf ../mpfr-4.1.0.tar.xz
mv -v mpfr-4.1.0 mpfr
tar -xf ../gmp-6.2.1.tar.xz
mv -v gmp-6.2.1 gmp
tar -xf ../mpc-1.2.1.tar.gz
mv -v mpc-1.2.1 mpc
case $(uname -m) in
  x86_64)
    sed -e '/m64=/s/lib64/lib/' \
        -i.orig gcc/config/i386/t-linux64
 ;;
esac
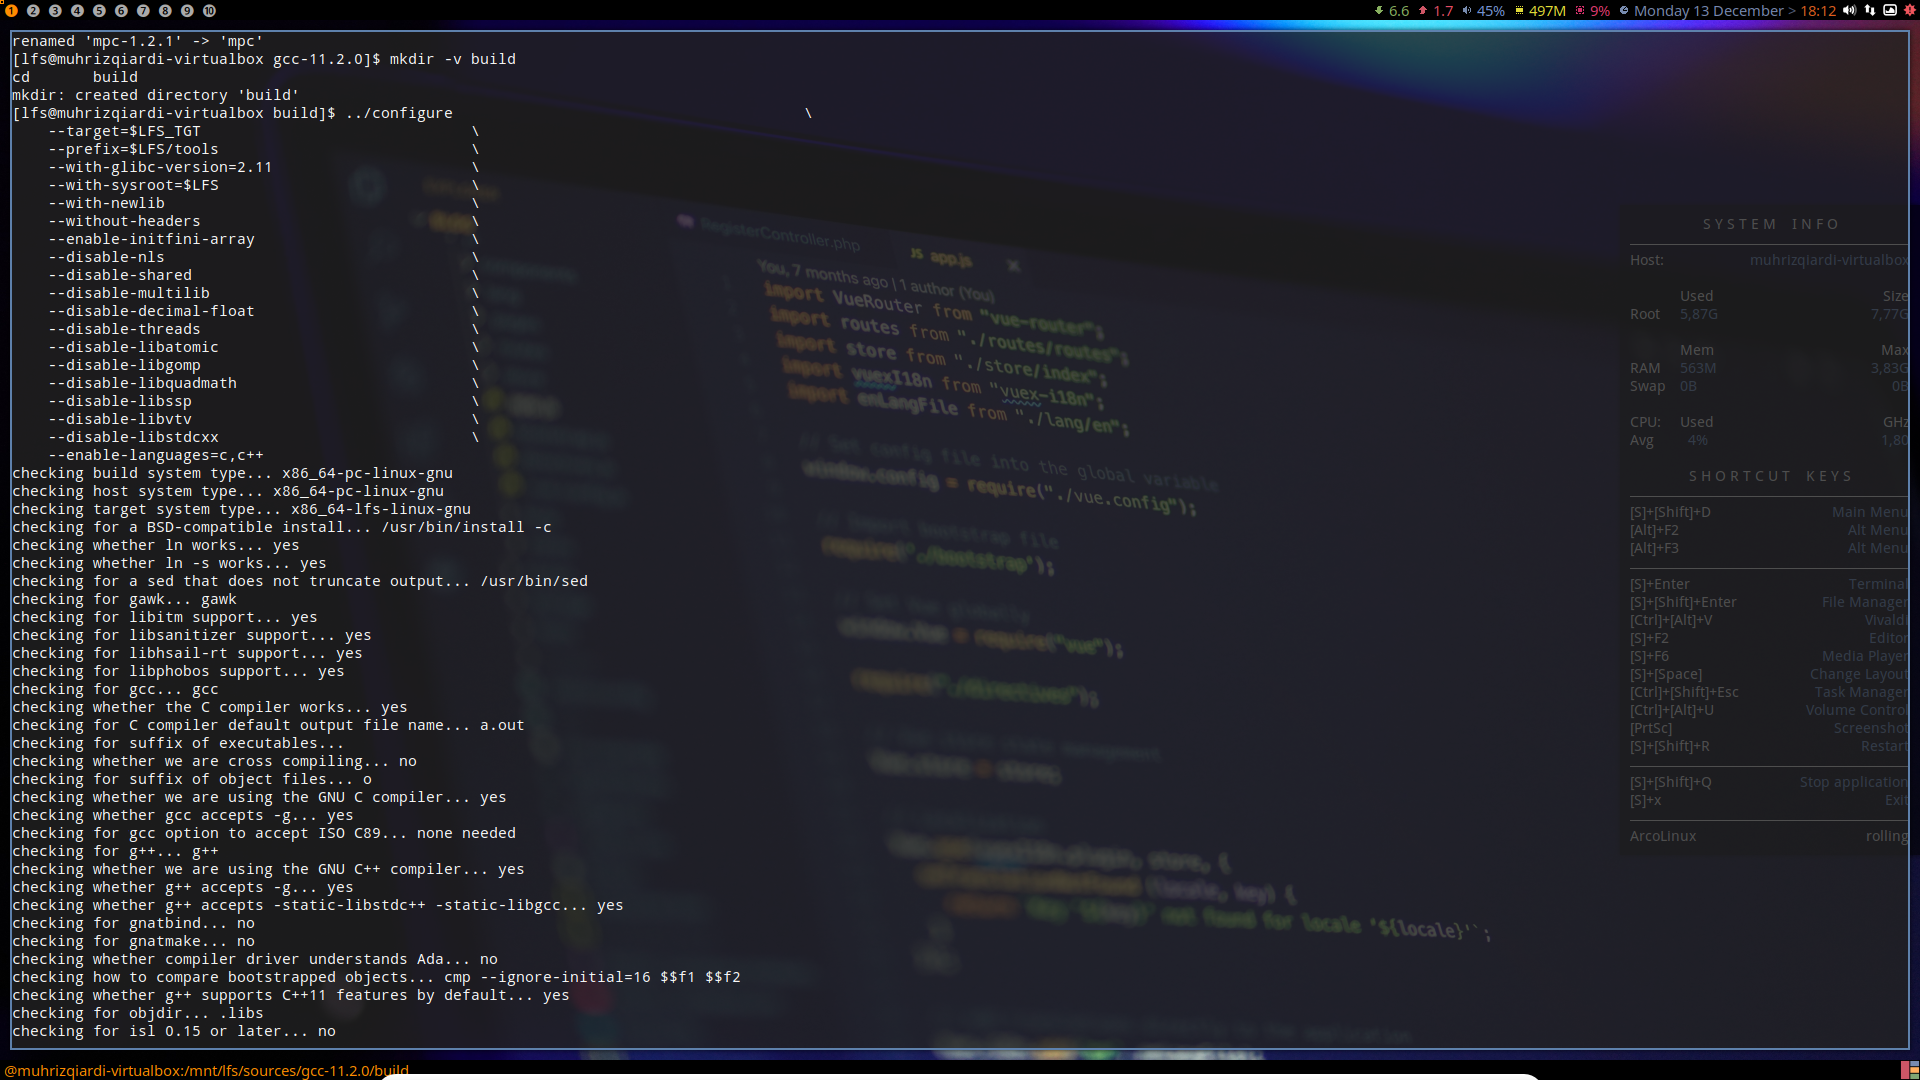
Then, create a build directory, and cd into the directory.
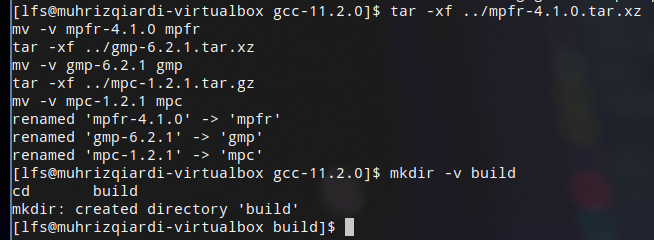
Run this command to prepare for compilation
../configure                                       \
    --target=$LFS_TGT                              \
    --prefix=$LFS/tools                            \
    --with-glibc-version=2.11                      \
    --with-sysroot=$LFS                            \
    --with-newlib                                  \
    --without-headers                              \
    --enable-initfini-array                        \
    --disable-nls                                  \
    --disable-shared                               \
    --disable-multilib                             \
    --disable-decimal-float                        \
    --disable-threads                              \
    --disable-libatomic                            \
    --disable-libgomp                              \
    --disable-libquadmath                          \
    --disable-libssp                               \
    --disable-libvtv                               \
    --disable-libstdcxx                            \
    --enable-languages=c,c++
Then run this to start compiling.
make
Also, at this point, I forgot to measure how much time it will take to compile binutils, which means I also don't know how much is 1 SBU. So I wrote down the time I started compiling first pass of GCC and when the compiling process is done. Turns out, it took 32 minutes to compile. First pass of GCC' compiling time is 12 SBU, so if I divide 32 by 12, the result is, 1 SBU equals to around 2.7 minutes.
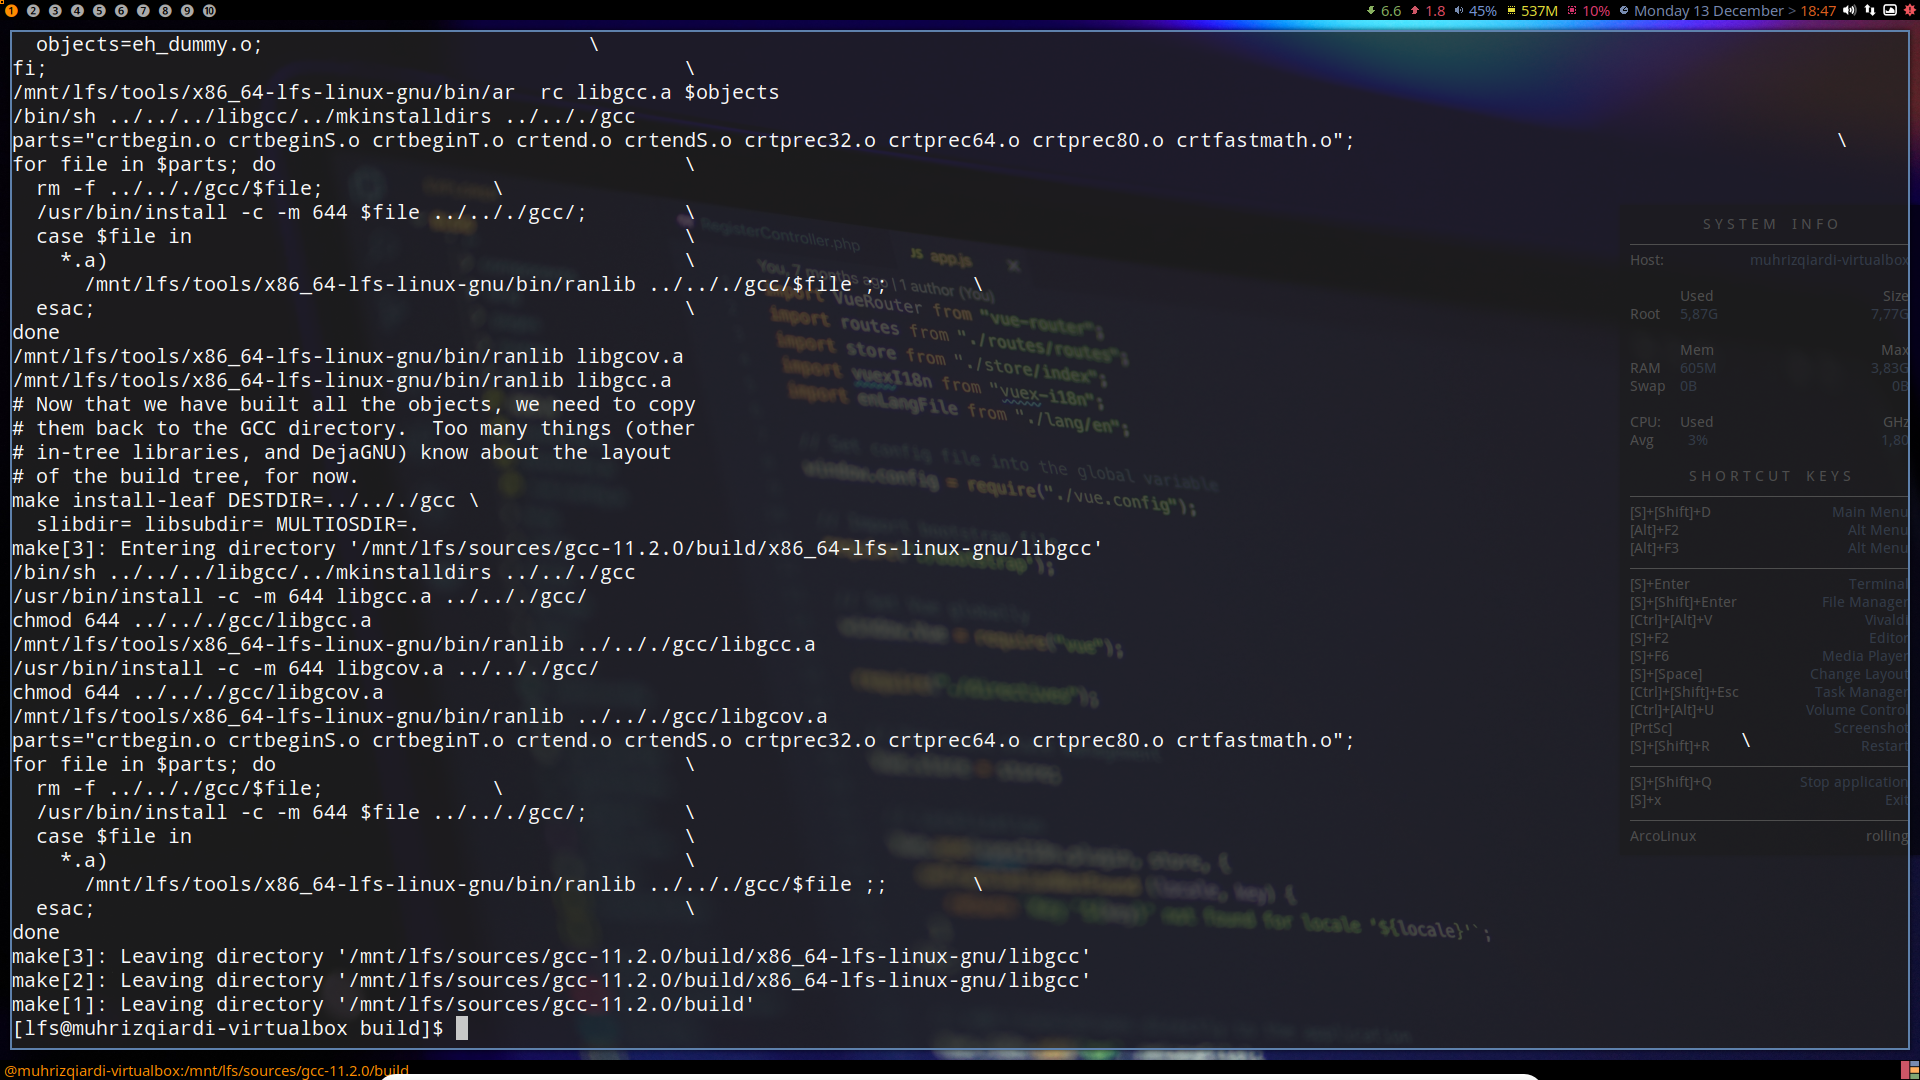
Then install it by typing:
make install
Then run the command below:
cd ..
cat gcc/limitx.h gcc/glimits.h gcc/limity.h > \
  `dirname $($LFS_TGT-gcc -print-libgcc-file-name)`/install-tools/include/limits.h
Explanation of this command is available here.
Lastly, remove the extracted folder of GCC.
Now let's move on to sub chapter 5.4.
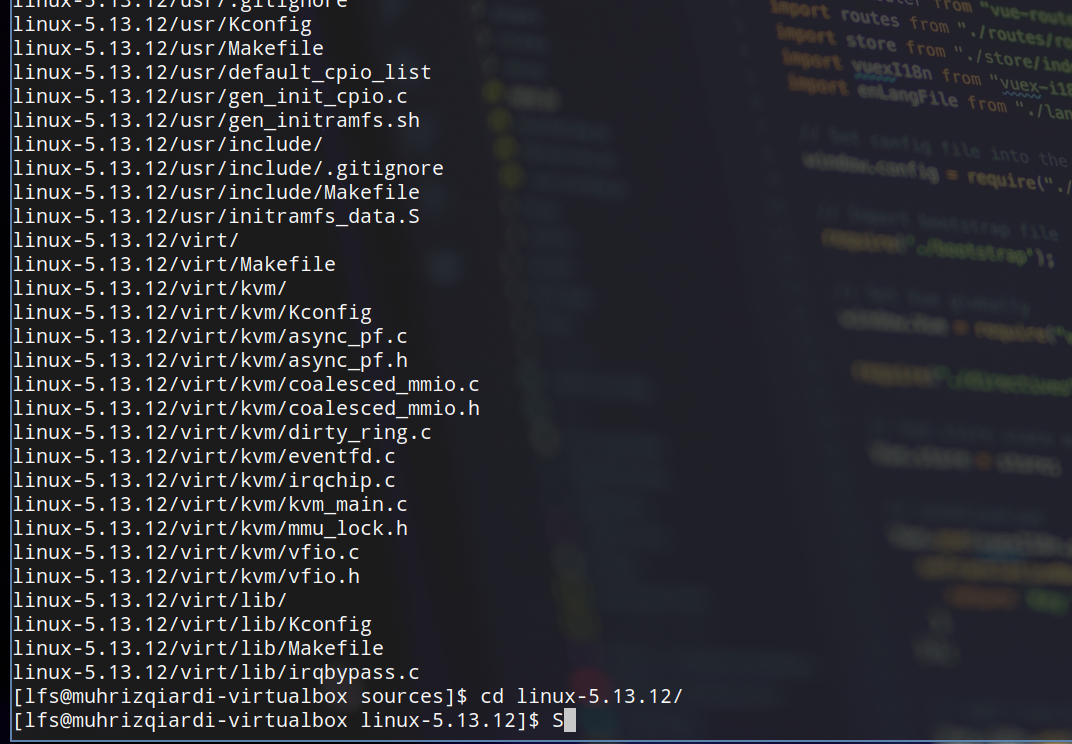
First extract the file for linux header (linux-5.13.12.tar.xz), then cd into the extracted folder.
Then run this commmand to make sure there are no stale files embedded in the package:
make mrproper
Then run this command:
make headers
find usr/include -name '.*' -delete
rm usr/include/Makefile
cp -rv usr/include $LFS/usr
This process doesn't take much time as it's only 0.1 SBU.
At last, like before, cd back into sources and delete the extracted folder. Finally we proceed to next sub-chapter, where we will install glibc.
Like before, first extract the tar file of glibc and cd into the the extracted folder.
tar -xvf glibc-2.34.tar.xz glibc-2.34/;
cd glibc-2.34;

Then create a symbolic link LSB complience by running these command:
case $(uname -m) in
    i?86)   ln -sfv ld-linux.so.2 $LFS/lib/ld-lsb.so.3
    ;;
    x86_64) ln -sfv ../lib/ld-linux-x86-64.so.2 $LFS/lib64
            ln -sfv ../lib/ld-linux-x86-64.so.2 $LFS/lib64/ld-lsb-x86-64.so.3
    ;;
esac
Next, apply the downloaded patch for this package by running this package:
patch -Np1 -i ../glibc-2.34-fhs-1.patch
Create a build directory and cd into it:
mkdir -v build
cd       build
First, make sure ldconfig and sln utilites are installed into /usr/sbin:
echo "rootsbindir=/usr/sbin" > configparms
Then prepare glibc for compilation:
../configure                             \
      --prefix=/usr                      \
      --host=$LFS_TGT                    \
      --build=$(../scripts/config.guess) \
      --enable-kernel=3.2                \
      --with-headers=$LFS/usr/include    \
      libc_cv_slibdir=/usr/lib
If you see a warning while running the command above, ignore it, cause it's mostly harmless.
Finally, let's start the compilation:
make
It's 4.2 SBU, so if my calculation is right, in my case it should take about 11 minutes to compile.
So the compilation is done, now let's install it by running this command:
make DESTDIR=$LFS install
After that, fix hardcoded path to the executable loader in ldd script by running this command:
sed '/RTLDLIST=/s@/usr@@g' -i $LFS/usr/bin/ldd
Let's follow the caution below the command above. Run the command below:
echo 'int main(){}' > dummy.c
$LFS_TGT-gcc dummy.c
readelf -l a.out | grep '/ld-linux'
If you see something like this, it means there should be no problem.

Finally, remove all the test files.
rm -v dummy.c a.out
At last, because the cross-toolchain is complete, finalize the installation of the limits.h header by running this command:
$LFS/tools/libexec/gcc/$LFS_TGT/11.2.0/install-tools/mkheaders
Done! Now do the usual, then proceed to the next sub-chapter.
First extract the GCC tarball and change to gcc-11.2.0 directory.
Then create build directory and change to it.
mkdir -v build
cd       build
Now, prepare libstdc++ for compilation by running this command:
../libstdc++-v3/configure           \
    --host=$LFS_TGT                 \
    --build=$(../config.guess)      \
    --prefix=/usr                   \
    --disable-multilib              \
    --disable-nls                   \
    --disable-libstdcxx-pch         \
    --with-gxx-include-dir=/tools/$LFS_TGT/include/c++/11.2.0
Then, compile libstdc++:
make
Finally install the library:
make DESTDIR=$LFS install
Lastly, remove the extracted folder of gcc.
Done! The chapter 5 is finally over. Let's move on to the next chapter.
6. Chapter 6 - Cross Compiling Temporary Tools
Before starting this chapter, make sure that you're on a user lfs, otherwise, you'll render your computer useless. Scary.
The process in this chapter is also more or less the same. Extract the tar, go in to the extracted folder, do the instruction, finally delete the extracted folder, unless instructed otherwise.
First, in source directory, extract the tar file of m4-1.4.19.tar.xz, then change into the m4-1.4.19 directory.
Prepare M4 for compilation:
./configure --prefix=/usr   \
            --host=$LFS_TGT \
            --build=$(build-aux/config.guess)
Then, start compiling the package.
make
Finally, install the package
make DESTDIR=$LFS install
Do the usual, and now proceed to next sub-chapter.
First extract ncurses-6.2.tar.gz and change to extracted folder.
To make sure gawk is found first during configuration, run this:
sed -i s/mawk// configure
Then, run the following commands to build the tic program on the build host:
mkdir build
pushd build
  ../configure
  make -C include
  make -C progs tic
popd
Then, prepare ncurses for compilation:
./configure --prefix=/usr                \
            --host=$LFS_TGT              \
            --build=$(./config.guess)    \
            --mandir=/usr/share/man      \
            --with-manpage-format=normal \
            --with-shared                \
            --without-debug              \
            --without-ada                \
            --without-normal             \
            --enable-widec
Start compiling:
make
and finally, install it:
make DESTDIR=$LFS TIC_PATH=$(pwd)/build/progs/tic install
echo "INPUT(-lncursesw)" > $LFS/usr/lib/libncurses.so
Do the usual and let's move to compiling Bash.
Extract the tar file and change into the extracted directory. Next, prepare bash for compilation by running this:
./configure --prefix=/usr                   \
            --build=$(support/config.guess) \
            --host=$LFS_TGT                 \
            --without-bash-malloc
Then, compile the package:
make
Install the package:
make DESTDIR=$LFS install
Finally, make a link for the programs that use sh for a shell:
ln -sv bash $LFS/bin/sh
Do the usual and let's move on to next package, Coreutils.
First extract the tar file of coreutils, and change into extracted directory.
Prepare for compilation:
./configure --prefix=/usr                     \
            --host=$LFS_TGT                   \
            --build=$(build-aux/config.guess) \
            --enable-install-program=hostname \
            --enable-no-install-program=kill,uptime
Then compile the package:
make
Next, install the package:
make DESTDIR=$LFS install
According to the website, we should move programs to their final expected locations, because some programs hard-code executable locations. Run these commands:
mv -v $LFS/usr/bin/chroot                                     $LFS/usr/sbin
mkdir -pv $LFS/usr/share/man/man8
mv -v $LFS/usr/share/man/man1/chroot.1                        $LFS/usr/share/man/man8/chroot.8
sed -i 's/"1"/"8"/'                                           $LFS/usr/share/man/man8/chroot.8
Do the usual, and let's move on to the next package, diffutils. This one is extremely easy, so I'm just gonna give you a link to the LFS website for this: https://www.linuxfromscratch.org/lfs/view/stable/chapter06/diffutils.html